DIY Glam Monogram Letter
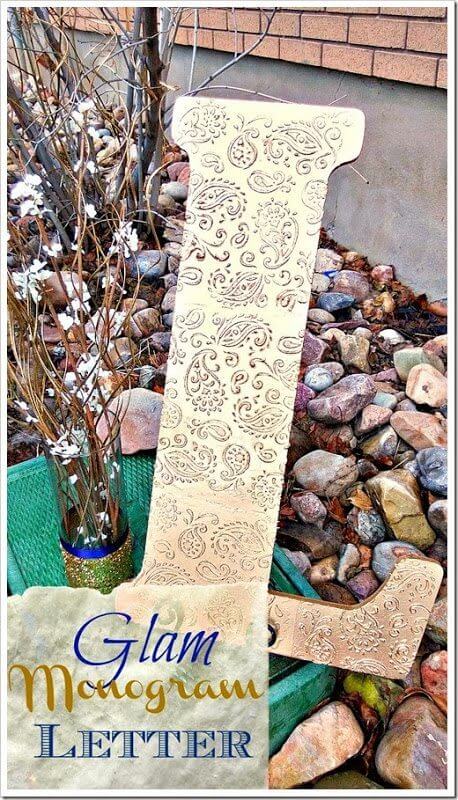
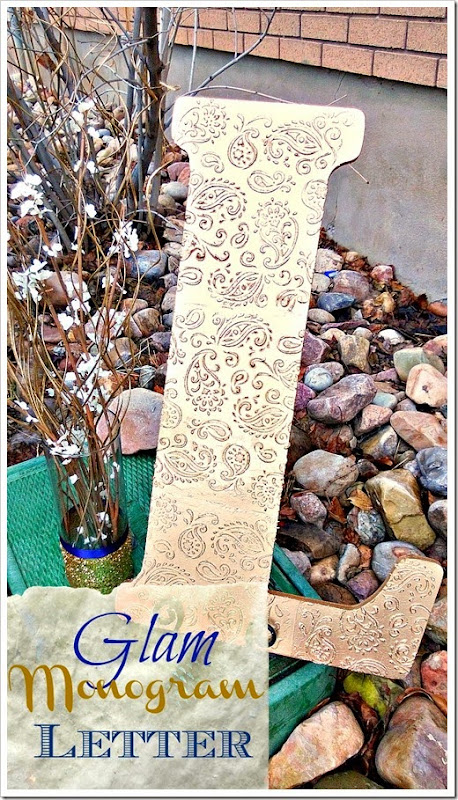
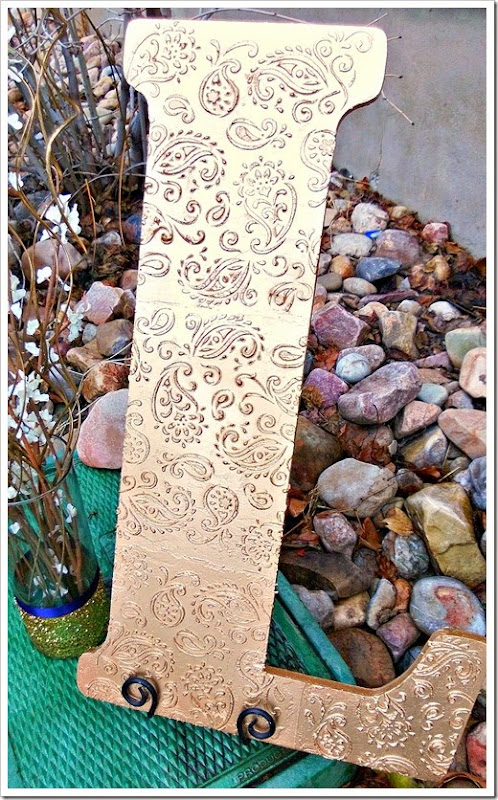
My cute son, Zac, got married on Monday!!!! We had the privilege to help with some of the decorations. My new daughter in law wanted a monogram “L” at the signing table.
DIY Glam Monogram Letter
We looked on Pinterest to get some ideas of what she was looking for, and we fell in love with the designs that had the raised texture. At first, it looked like they had used glue to make a raised design, so I tried that but it just didn’t look right.
My husband suggested getting stencils and gluing them to the board and then spraying it with the paint, but again it wasn’t as dramatic as I wanted.
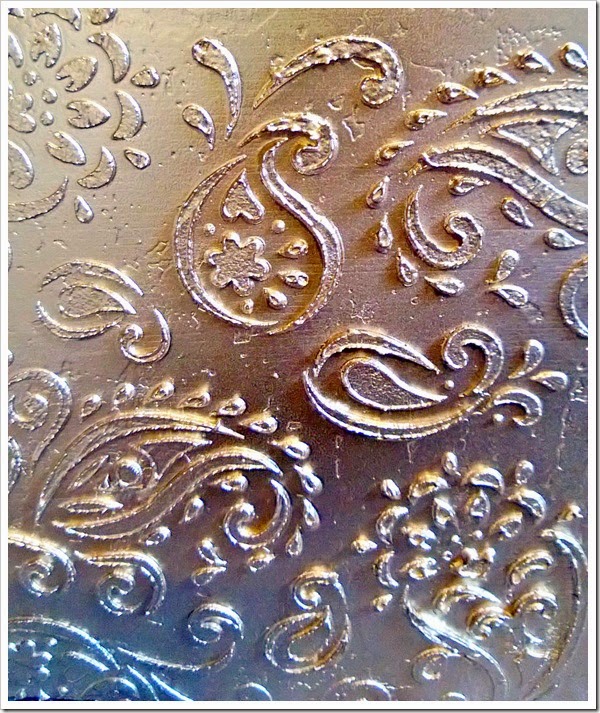
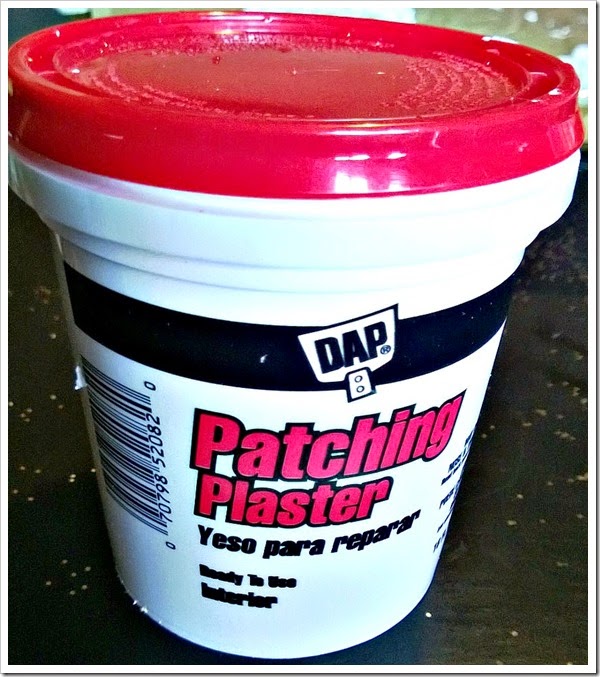
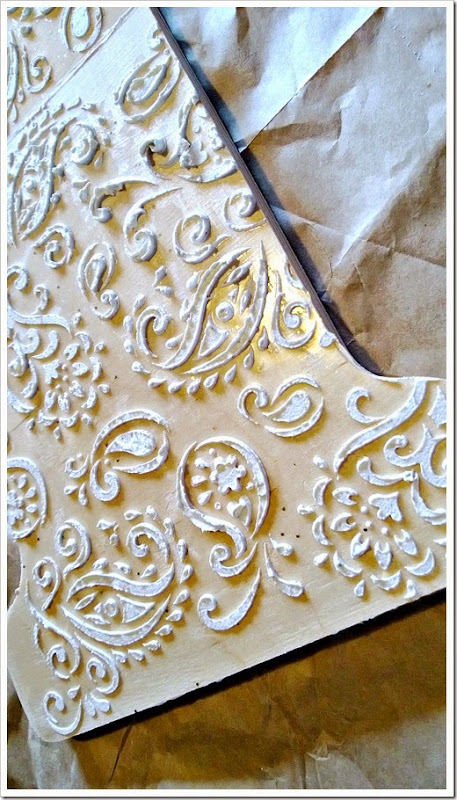
Then my husband suggested that we used the patching plaster and it was perfect! Plaster is super cheap and it does an amazing job.
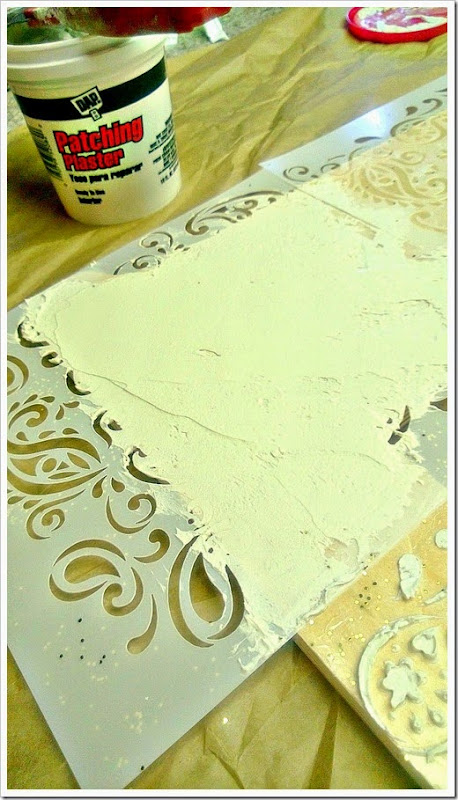
All you need to do is secure your stencil to the board with a light coat of spray glue. Let dry before adding the plaster.
Next, spread the plaster on to the stencil, and make it as thick as you would like, and it doesn’t need to be smooth because that will add character to your piece.
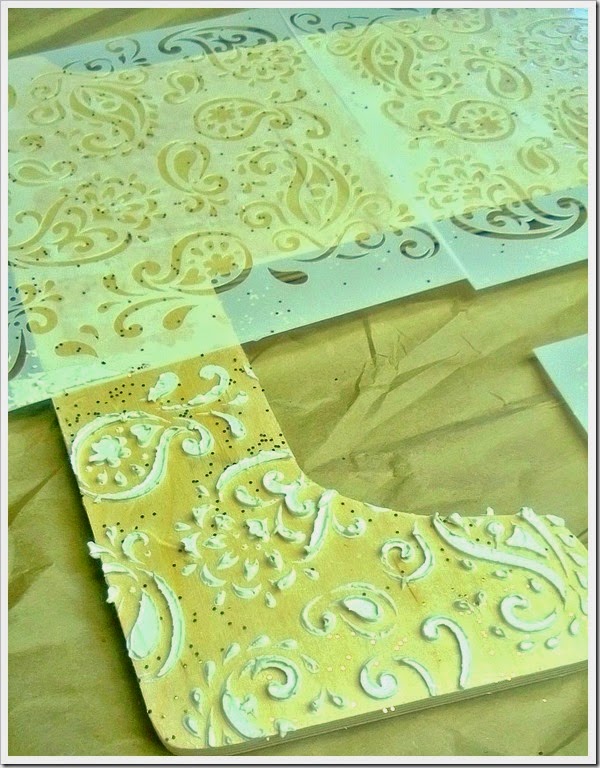
Once it is completely covered, quickly pull off your stencil. Make sure to pull it straight up and not on an angle.
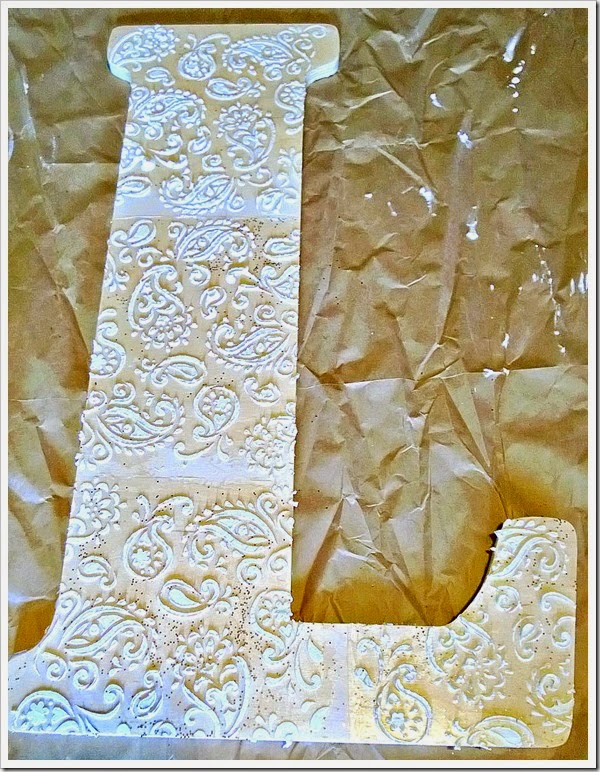
Let dry completely! It will take a couple hours.
We spray-painted ours to match the colors of the wedding but honestly, it looked pretty cool without the paint. This would look amazing in any room in your house!

 Your Closest CHEERLEADERS!
 We are your big sisters , cheerleaders , and confidence boosters in building a happy home. We are the Lou Lou Girls!


It turned out really elegant! Wishing you all the best for the newly-weds!
Thank you!
How very cool! I've never seen the letters textured like that! How clever 🙂
Thanks!
Great post! This has inspired some other ideas!
I agree, you could do so much with this technique.
Love this project! There are so many possibilities with this! Thank you for sharing on Show Me Saturday! Pinning!
This is awesome! Did you make the letter from wood? I would love one of these and I think they would make a really cool Christmas gift for several friends I can think of. Pinning and doing this soon – thanks for sharing!
That's very pretty! What a fun weekend DIY!
Thank you!
So pretty! What a great idea with the plaster! We have a huge thing of it laying around here, I should make something!
Thank you!
This is really clever.
I expect that the newlyweds will enjoy having this as part of their decor. I really love posts, like this one, which is straight forward and shows all the challenges you faced before coming up with the ultimate finished product!
That is very unique. And a clever use of plaster. I really enjoyed this post.
Thank you for linking up at Party Under The Big Top #BigTopBlogParty
This is really pretty, what a great idea!
That's a really amazing idea!! I would have never thought to do such a great diy! Happy to have you link up with us again at the Best of the Blogosphere!
I'm going to have to go look for letters and stencils that looks fabulous!
Brilliant ideal! I love typography any shape or form and this was a beautiful piece that your new daughter-in-law will treasure!
I absolutely love this project! It turned out so well and sounds like something I could manage to make. Oh and of course it's an L so I have to love it! 😉
Thanks so much for stopping by the Party Under the Big Top and sharing this post!
Wishing you a fabulous week!
Much love,
Lysa xx
Welcome to My Circus
#BigTopBlogParty
That is awesome, especially because it is an "L"! 😉 I have got to make one!!
Wow Kimberly, this turned out great! I love it! I'm going to pin it and I'm going to be trying it soon. Thanks for the inspiration.
I never thought to use patching plaster!!! So creative and unique!! Thank you so much for sharing at The Wonderful Wednesday Blog Hop!
Wow! It's beautiful! What a great idea! I'm sure the wedding was beautiful!
I LOVE this idea. I've been trying to think of a new way to paint a letter that I want to put on the wall and I may have to give this a try.
Happy Valentine's Day! Thank you so much for sharing your awesome DIY Glam Monogram Letter with us at the Healthy, Happy, Green and Natural Party
Blog Hop. I'm pinning and sharing!
Happy Valentine's Day! Thank you so much for sharing your awesome DIY Glam Monogram Letter with us at the Healthy, Happy, Green and Natural Party
Blog Hop. I'm pinning and sharing!
This is TOTALLY genius! I am in love and I cannot wait to try it myself! Congrats to your family on the wedding. Thanks for sharing at On Display Thursday. This is such a great project!
This is SUCH a great idea! This could be used for so many different facets in the home or office or anywhere, really! Thanks so much for linking up at the #HomeMattersParty – we hope to see you again next week!
This is so pretty! I love it. 🙂 Thanks for sharing at the Homestead Blog Hop this week!
I love this!! What a great idea!!
Thanks for sharing on My 2 Favorite Things on Thursday! Hope you come back and share some more!! Pinned!
Clever! I love how the plaster gave the raised pattern effect! Thanks so much for sharing at my Creative Ways Link Party! Looking forward to seeing what you'll bring to the party this week!
Blessings,
Nici
I just love how you created the embossed look with plaster. Way to glam that letter up and sharing at Project Pin-it. Hope to see you girls this week.
Hugs,
Denyse
This is so adorable!! Pinned and shared this and your other projects you linked up!! I cant wait to see what you brought this week!!
Jess @liverandomlysimple
Just wanted to stop by and let y'all know that you've been featured at the #HomeMattersParty this week! We'd love for you to come check it out – the door is open! Here's the link:
http://theroadtodomestication.com/2015/02/20/home-matters-linky-party-25/
Wow – that is beautiful!!! Who would have thought to use home maintenance items for decor? Love it!! #HomeMattersParty
Lovely! Thanks for sharing!