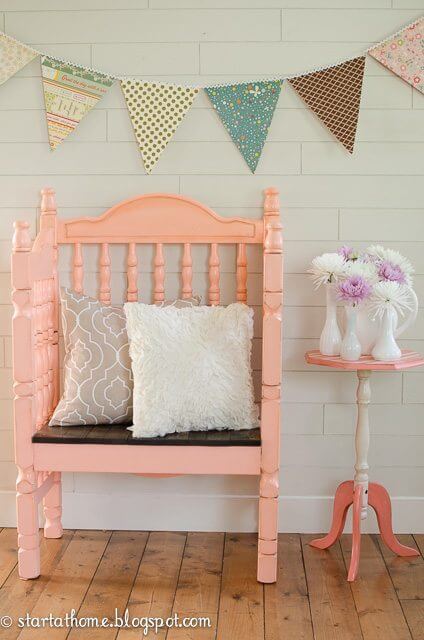
DIY Upcycled Crib to Bench
DIY Upcycled Crib to Bench! Today I am going to show you how I turned an old crib into this beautiful new bench!
DIY Upcycled Crib to Bench
You will need:
An old crib
a table saw
tape measure
a drill
screws
wood glue
2×4’s
sand paper
paint
pine planks
For this bench I used the 2 ends. One of the ends will be the back you don’t need to do anything to this one
The second end you are going to cut in half with a table saw. once cut you should have 2 equal parts, these are going to be the sides of your bench.
A bench seat is usually between 16 to 17 inches high. I cut 5 inches off of these legs so they would line up correctly on the back and be the right height for my seat.
Next you are going to build a frame out of 2×4’s to use as your seat.
The back of your frame should run from post to post and should be at least 15 inches wide.
Once your frame is made you will attach it to the back of your bench with several screws and wood glue. It is a good idea to pull out your level to ensure your bench is going together square.
Once your frame is secured to the back you can add your side pieces one at a time.
I like to screw them to the back as well as the center frame to make the bench as sturdy as possible.
Now that your bench is all together fill all of your screw holes and your bench will be ready to paint!
Once your bench is painted cut pine planks the width of your bench with at least a 1/2 inch over hang. I used a finish nailer to secure the pine planks to the 2×4 frame.
and TADA you have a beautiful new bench!

You make that look so simple. It's really beautiful, good job.
Thank you Rachael Jess! They get easier with each one you do!!
What a gorgeous crib bench Brooke! One of my favorites so far. I love the color you painted it and you always style your pieces so beautifully for the photos.