How to Make Marshmallow Fondant for Cake Decorating
When I first got married, almost 10 years ago, I decided I wanted to be a cake decorating master like my mother-in-law Julie. Julie has been decorating cakes for many years and I loved watching her and trying to memorize her every move, until one day she actually let me try it!
I was so excited, and I’m sure she was terrified I was going to ruin the wedding cake that she was making that day, but she was very patient and eventually, after many lessons, she taught me all she knew about cake decorating! I still call her for advice.
The one thing I didn’t learn from Julie was how to make fondant, and since everyone I was talking to wanted a fondant cake, I figured I better learn how to do it.
After many searches on the internet, tries and fails, I finally found the perfect combination that worked for me.
Marshmallow fondant is MUCH better tasting than store bought, not everyone will like it, but it does allow for a lot more creativity in cake decorating. It’s a lot like Play Doh and it’s really fun to work with! If you missed the post about our shark party you can click here to see some of the fun things we did.
How to Make Marshmallow Fondant for Cake Decorating
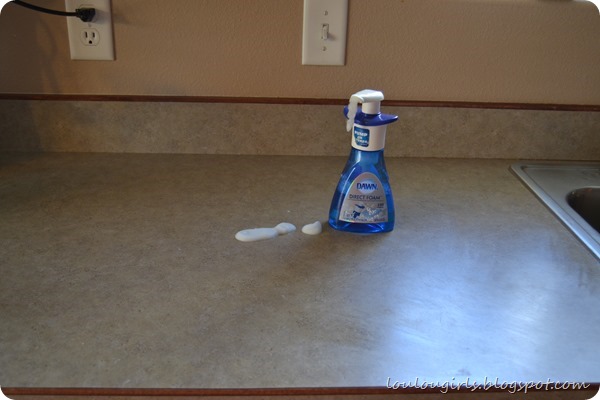
The first thing you need to do is clean off your countertops with dish soap. You are going to be making the fondant right on top of your counter, so make sure it’s sparkly clean!![]()
How to Make Marshmallow Fondant for Cake Decorating
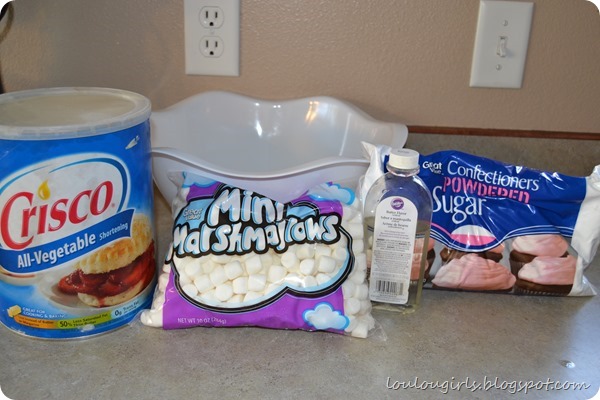
The ingredients you need for this project are;
1 large bag of mini marshmallows (I think it’s about 16.5 ounces)
1/4 cup of shortening
2 lbs. of powdered sugar
2 T of water
1 tsp. of any CLEAR extract you want to flavor your fondant with. I’ve used mint, butter, and almond in the past.
Microwavable bowl
Spatula
Plastic wrap
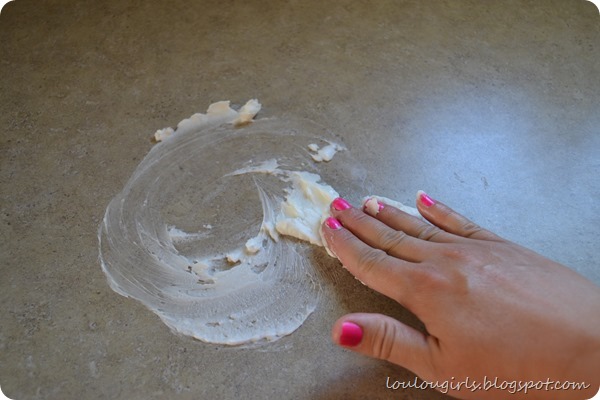
Okay, this may seem strange, but you HAVE to coat your work surface with a LOT of shortening! If you don’t, you will have a sticky hot mess on your hands, literally! I plop a big glob of it down and spread it all over the counter top. Don’t make it too small or you’ll regret it. It needs to be big people, spread it about 2’x 2’!
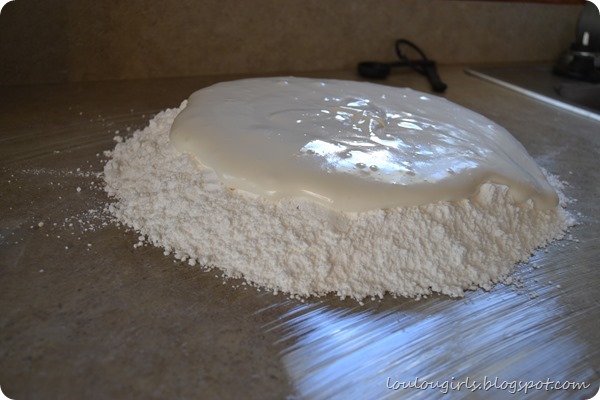
Next, you are going to dump the whole bag of powdered sugar on the countertop. It’s messy. Don’t say I didn’t warn you! You can see the shortening under the powdered sugar in this picture. It’s big.
After you dump your powdered sugar on the counter, make a little well in the middle, so your melted marshmallows will have a cozy spot!![]()
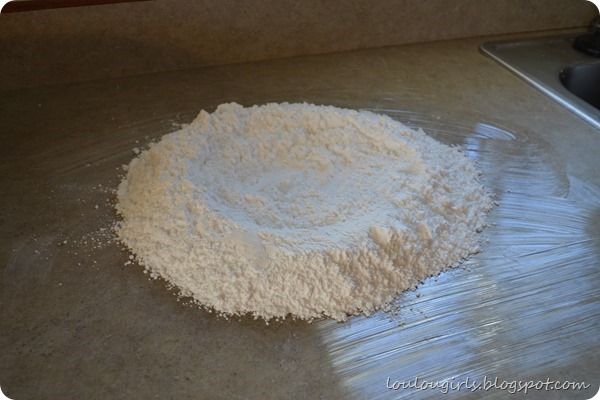
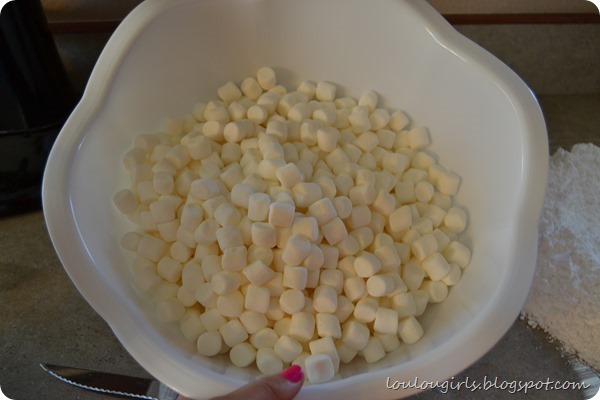
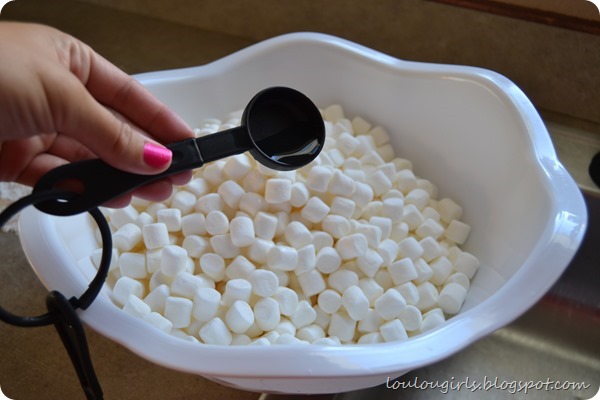
After you have prepped your powdered sugar and countertops, you can dump your bag of marshmallows into a microwaveable bowl. Sometimes I spray the edges with Pam to help prevent sticking, but don’t go crazy! A little goes a long way.
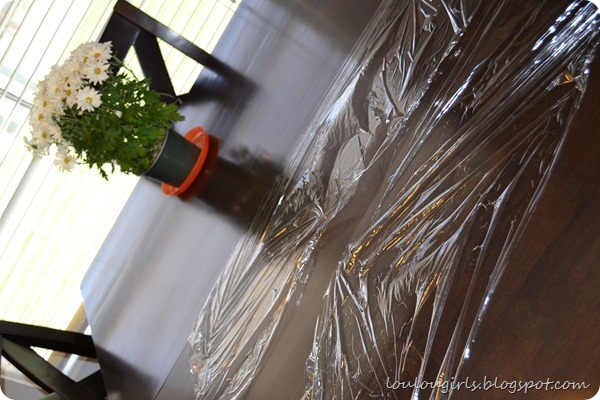
After all that, I spread my plastic wrap on the table. If you don’t do it now, you’ll be out of luck. Your hands will be a sticky mess in a few minutes and it’s much better to get everything ready to go before you start. I like to use 2 big strips so I can double wrap it.
Okay, now add your 2 tablespoons of water to your mini mallows and stir them around.
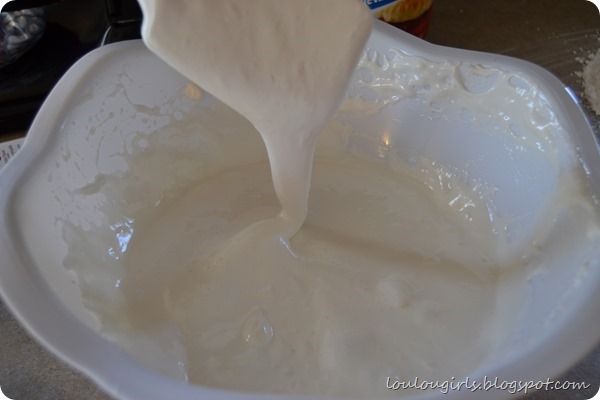
Pop your bowl into the microwave and heat in 30 second intervals, stirring frequently. Continue this process until the mallows look all melty (I know that’s not a word), like this…
After it’s melted you can add a teaspoon of an extract if you want, or not, it’s totally up to you and either way it will work.
Okay, here’s where it gets messy. Please listen when I say you MUST coat your hands in shortening! Be generous. This prevents the mallows from sticking, sticking mallows are not your friend, it makes this process really difficult.
After your hands are coated you can go ahead and dump the mallows into their cozy little well. As you can see, I didn’t spread mine out enough and I’m about to have a disaster in the bottom right corner. I hurried and dropped the camera so I could start kneading.
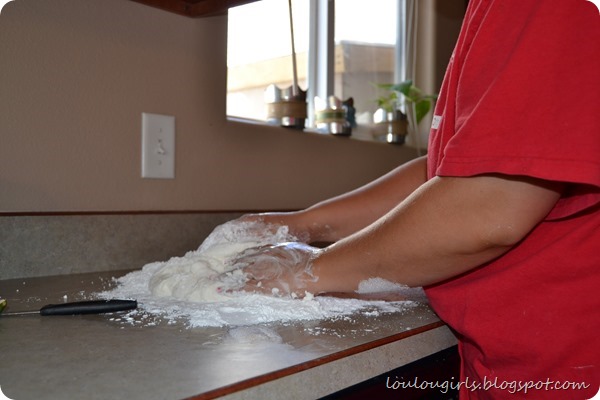
You can see how greasy my hands are in this picture. I had my 7-year-old take this pic for me, cause I didn’t want to ruin my new camera! Don’t wear cute clothes while you’re doing this! You will get messy, it’s unavoidable.
Start kneading the mallows into the powdered sugar slowly! Don’t add it too quickly. I usually start around the edges and slowly take handfuls and push them to the top off the pile.
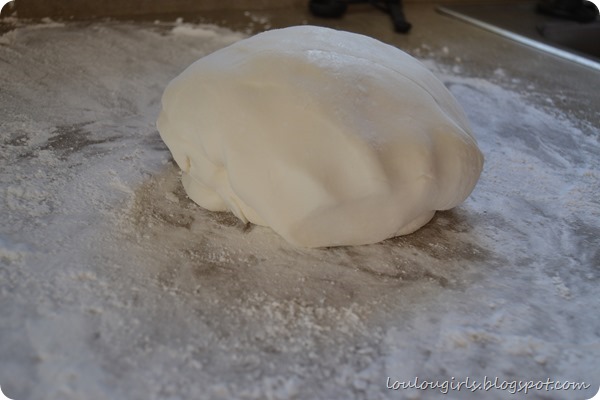
After you have worked all of the powdered sugar into the mallows you should have a ball of fondant that looks like this… Be patient, it takes some effort.
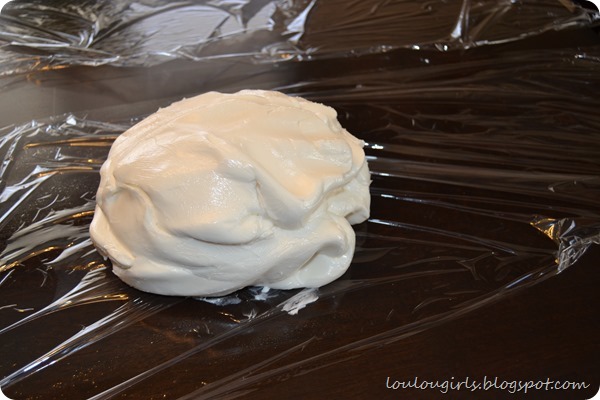
This last step is super important. Pick up your ball of fondant and a handful of shortening and cover the whole thing with it. If you don’t, your fondant will stick to the plastic wrap and it’s not easy to get off.
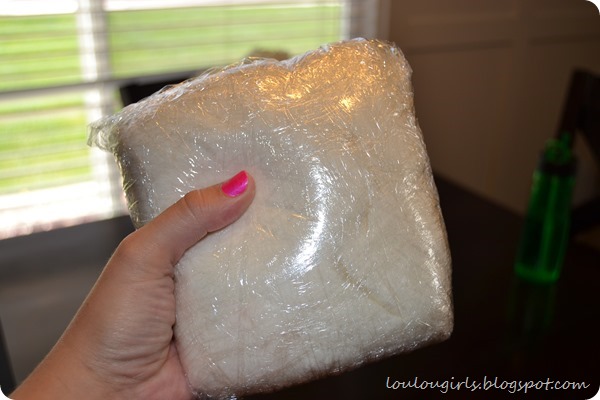
Finally! You’re done! Wrap the fondant with the plastic wrap a lot! This will prevent it from drying out. Let it rest for at least an hour. Some people suggest 24 hours, but I’ve got to be honest, I’ve used it almost immediately after.
DON’T put it in the fridge!!! It will be way too hard to work with. I usually make it the day before a big project and let it rest on the countertop over night.
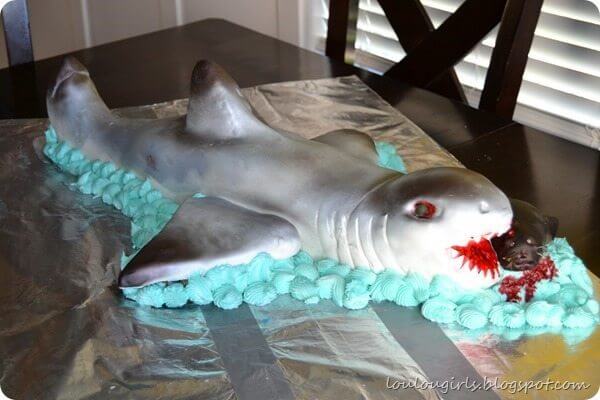
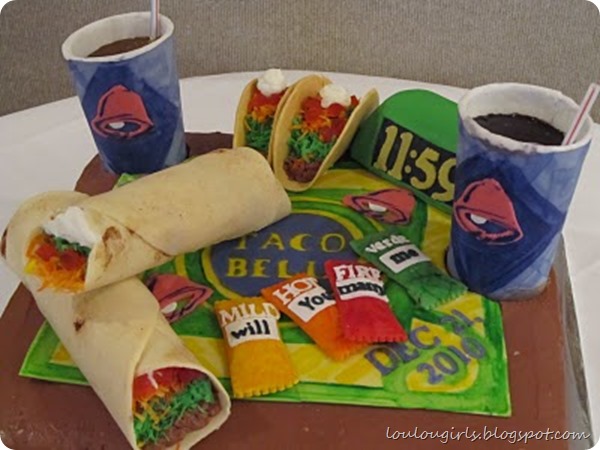
Now that you have your fondant all ready to go you can use it to make awesome cakes for your family and parties like these…
How to Make Marshmallow Fondant for Cake Decorating
How to Make Marshmallow Fondant for Cake Decorating
Just don’t get too good at it, or everyone will ask you to make them cakes, and your kitchen will be covered in powdered sugar all the time!
* Before you roll your fondant out, make sure you lightly dust your countertop and rolling pin with either corn starch or powdered sugar!!
** You can also knead gel food coloring into the fondant after it has rested. I have tried mixing the coloring in with the melted marshmallows in the beginning, but the fondant doesn’t set up as well when I do it that way.
How to Make Marshmallow Fondant for Cake Decorating



 Your Closest CHEERLEADERS!
 We are your big sisters , cheerleaders , and confidence boosters in building a happy home. We are the Lou Lou Girls!


Hey! I'm so glad you did this post so I can finally find a fondant recipe that tastes good! How do you color it?? 🙂 Or is that coming in a different post…
Hi Kylie! Thanks for reading! I just knead in the food coloring after it has rested. Make sure that you use gel food coloring. You can find it in the cake decorating section at any WalMart, or in most craft stores. Don't use the liquid type that is in the baking aisle though, it messes it up. Just coat your counter top with either cornstarch or powdered sugar, add a small dot of coloring to your fondant, and knead it in until it's completely mixed.
Dark colors like red and black usually need to rest for a while before they completely saturate. Red will look pink and black will look purple if you don't let it rest for a while before you use it. I would suggest kneading colors like red and black into the fondant the night before you start your cake. Jessica:)
Wow! This is awesome! Thanks for sharing with Sharing It Sunday. I'm definitely pinning this one!
I just made this tonight. I'm so excited to make my first fondant cake! Thanks for this recipe with the detailed instructions and pictures so that even I could make it!! 🙂
Yay! Des, I'm so glad you tried it! You'll have to send me pictures of the cake!