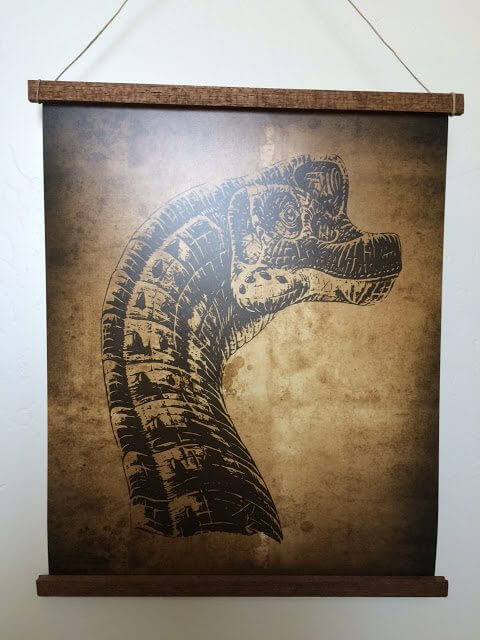
Easy DIY Photo Frame!
I made these for Cooper’s dinosaur themed room and they were so easy!! Plus I got the prints for free from the fabulous lynnspin.com so if you’re looking to do something similar feel free to check them out! They printed great and look super high quality.
Easy DIY Photo Frame
YOU WILL NEED
Prints
Sticks
Glue Gun
String
INSTRUCTIONS
1. Gather your necessary items and make sure they are cut to size. (I got the sticks from Michael’s. I wanted them to be a dark walnut color so I stained them. It was a pretty painless process.)
2. Glue the sticks to the front side of your prints.
3. Tie string around one end of the stick, measure, and tie the necessary length to the other side.
4. Glue the back of the string in place for extra support.
5. Hang up your beautiful display!
I’m so excited to have the room all put together!!


 Your Closest CHEERLEADERS!
 We are your big sisters , cheerleaders , and confidence boosters in building a happy home. We are the Lou Lou Girls!


This is so cute! I love how few supplies you need to do this. Yet, the finished product looks fabulous! Nicely done and thanks for sharing! 🙂
Great looking frame and looks like it will be easy to make. Just the kind of projects I like! lol
I like the color that you chose. It's like rustic. It makes a wonderful wall decor.
Amber, these look so great, they look old, but have a new, clean, streamlined look. I love them for a boy's room, and I'm sure that you could tailor them to any print. The jute looks great and is totally in right.now. Simple, easy project that can be put together in so many ways! Thanks for sharing at #WAYWOW linkup. Pinned, tweeted, shared. Hope to see you on Wednesday!