How To Make Roman Shades
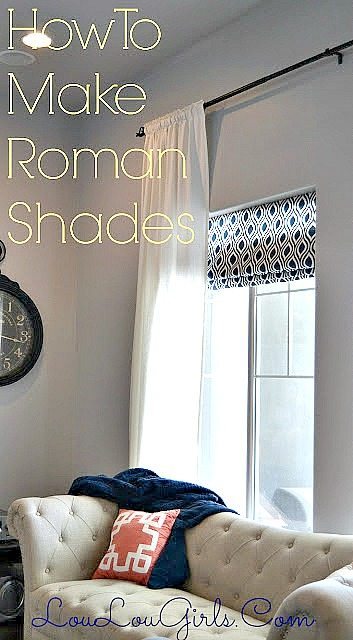
How To Make Roman Shades! I love these roman shades because they are an easy way to add color and privacy to the room without breaking the bank. I looked into buying a DIY Roman Shade kit at JoAnn’s, but they were $60 each, ,not including the fabric!
We moved into our new house a year and a half ago, and I made the shades about a month after we moved in. I can’t believe it has taken me this long to post, but here goes.
That’s just bananas! I think my price before fabric was closer to $5 for each window. My fabric was about $9 a yard, so it was about $25-30 per window. Your price will vary, depending on how expensive your fabric is.
How To Make Roman Shades
Here’s what you’ll need for this project.
- Fabric. Measure your windows first, then find the fabric you want for your project. Make sure it’s a thick upholstery fabric. I didn’t line my shades, but you could if you feel like the sun will fade your fabric. We change décor so often, that I didn’t worry about it. I’ve had my shades up for 1 1/2 years and I haven’t noticed any fading.
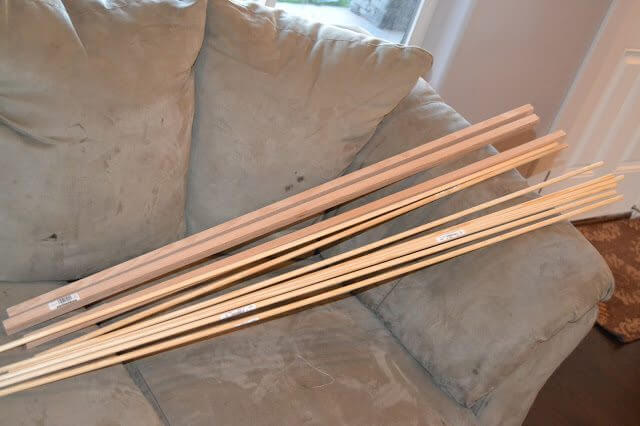
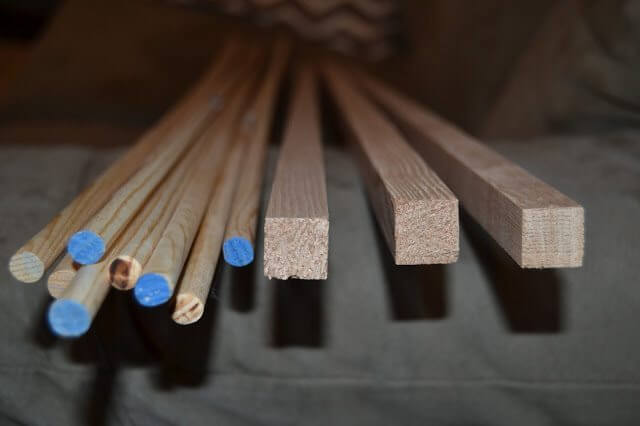
- Dowels. How many you’ll need will depend on the size of your window. We needed 3 dowels per window.
- 1 1″ x 1″ board. We used this board to anchor the shade into the top of the window.
- Thread for sewing your drapes.
- String. I found mine in JoAnn’s. It was specifically for drapes.
- Cleats. I used one cleat per window to secure the string when the shades were pulled up.
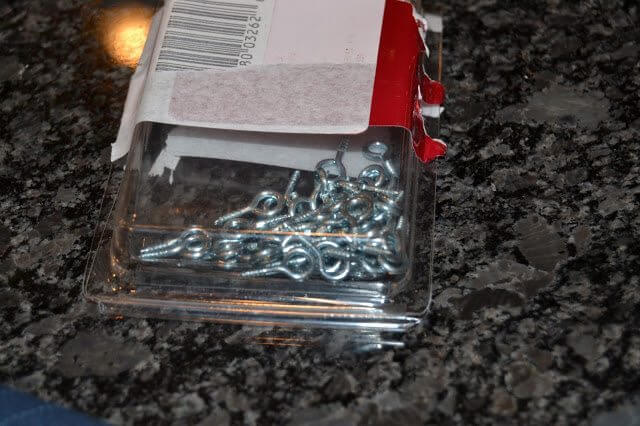
- Eye hooks. The kind with a screw on the end. I also found these at JoAnn’s
- Measuring Tape
- Sewing machine
- Drill
- Air compressor with nail gun attachment.
- Miter Saw, to cut the dowels and boards.
- Scissors
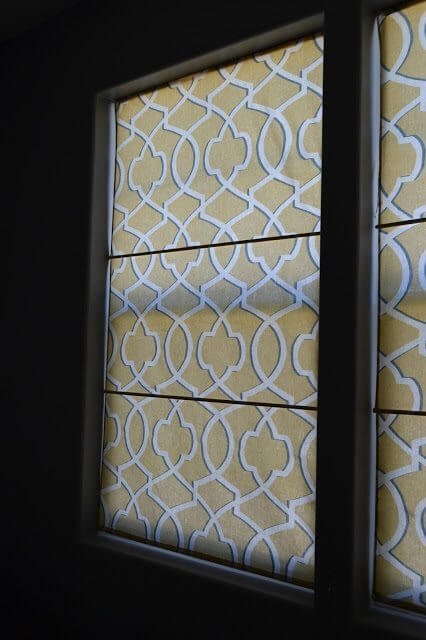
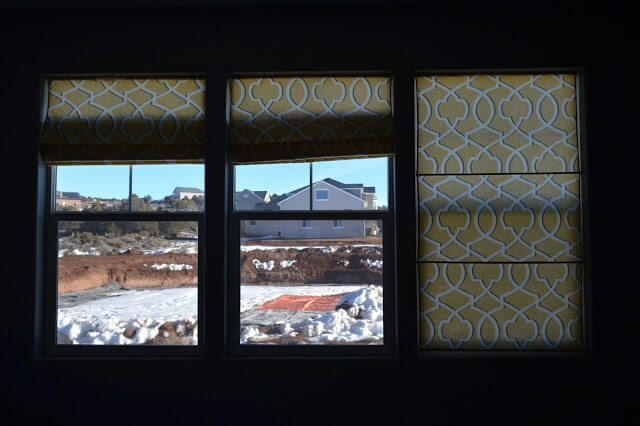
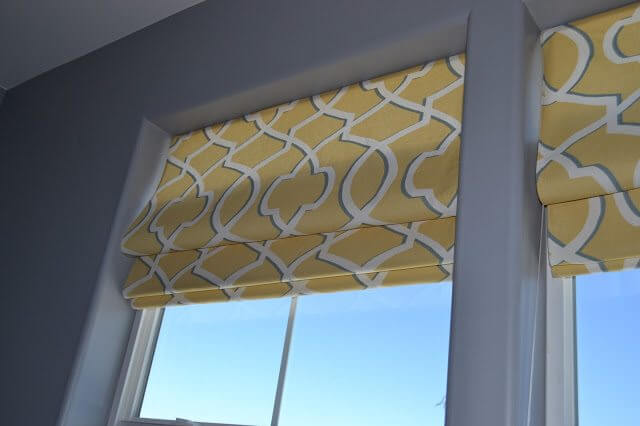
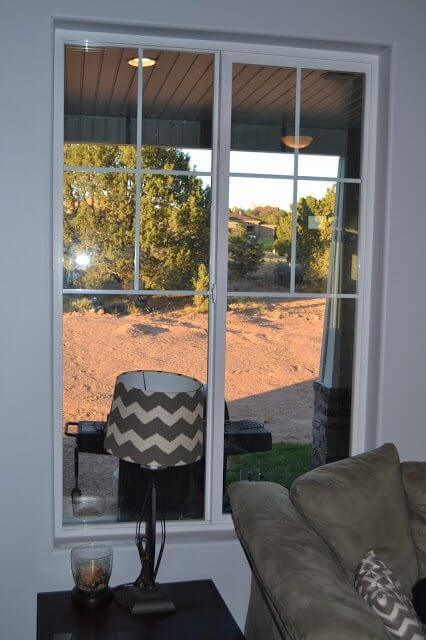
We made roman shades for our bedroom and our living room, here’s a couple different shots. It was hard to get a good picture, with the light coming straight into the camera. I have to get better with my photography skills, but you get the picture!:)
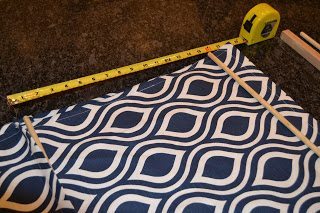
- Start by measuring your window. Measure the width and length and add 1 inch for a seam allowance on the width. Add an additional 5 inches to the length (3 inches per dowel, and 2 inches to wrap around the 1 inch block at the top.)
- We used 3 dowels and 1 thin 1″ x 1″ square board per window. We cut them 1/2 an inch shorter than the width of the window.
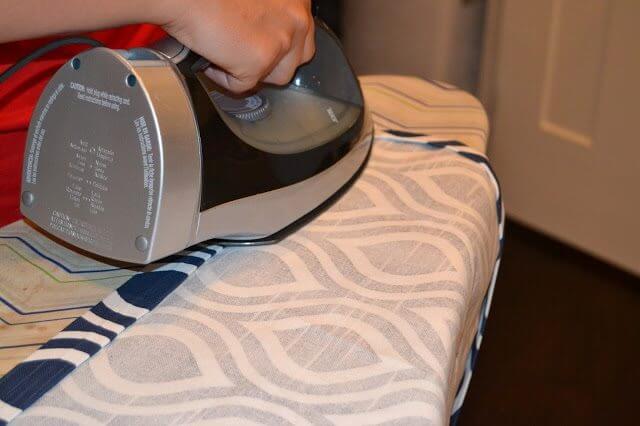
- Now it’s time to measure and cut your fabric. Remember the measurements you started with. Iron your fabric so that it’s perfectly straight when you sew. I folded it, ironed it, pinned it, then sewed it on sides first. The top of the shade doesn’t need to be sewn because it will be wrapped around the thin square board and nailed into the top of your window.
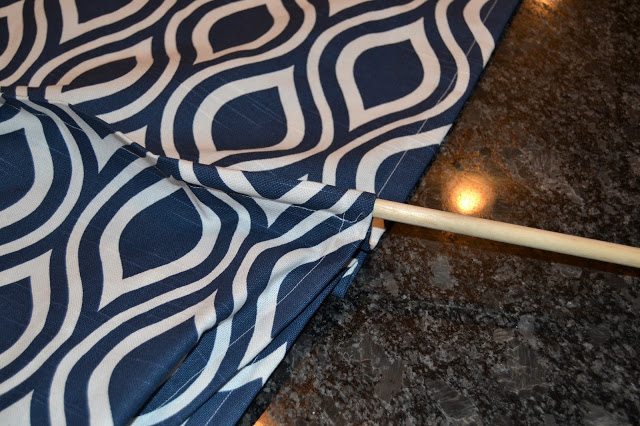
- After the width edges are sewn, it’s time to make pockets for the dowels. The dowels weigh down the fabric so it will fold nicely when you pull it up. Since we only used 3 dowels (you can use more if your window is longer, or if you want to) we divided the length of fabric into thirds leaving an extra 2 inches on the top section to wrap around the board that will be nailed into the top of the window.) Then we pinned it and sewed 3 1″ pockets for the dowels to slide into.
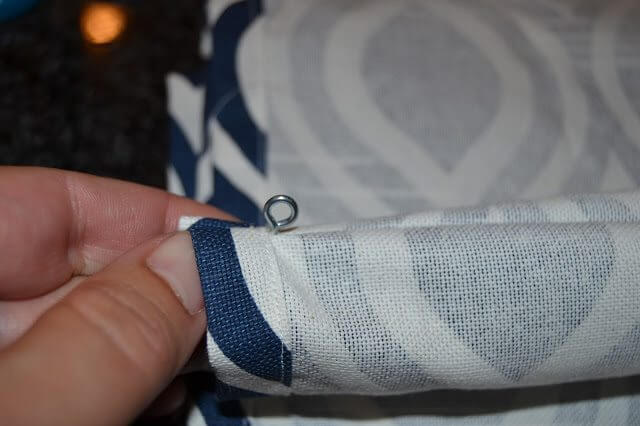
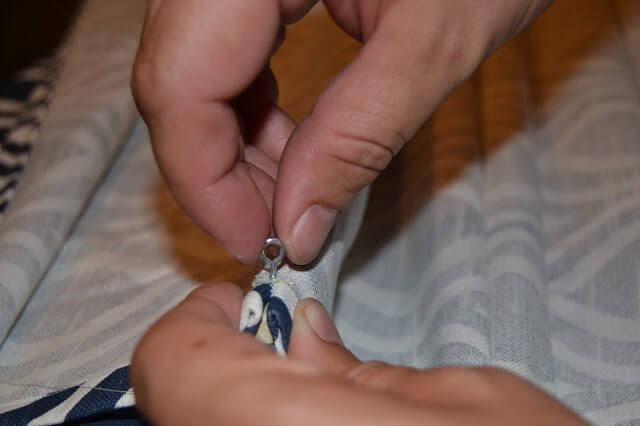
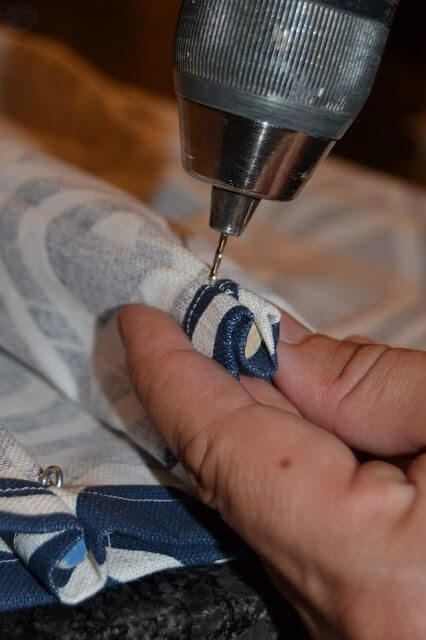
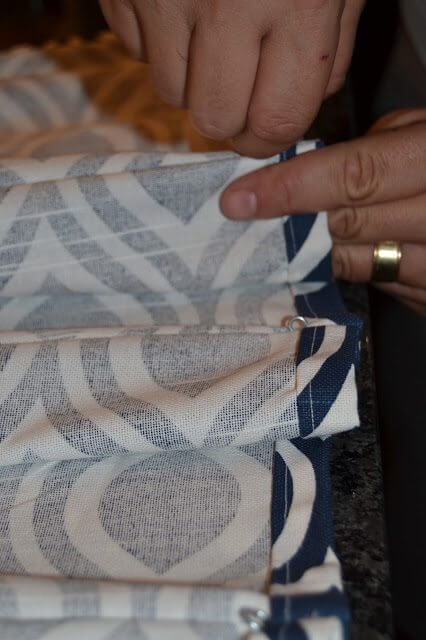
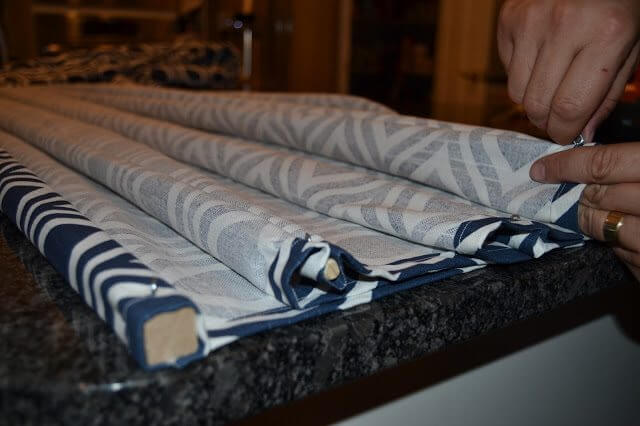
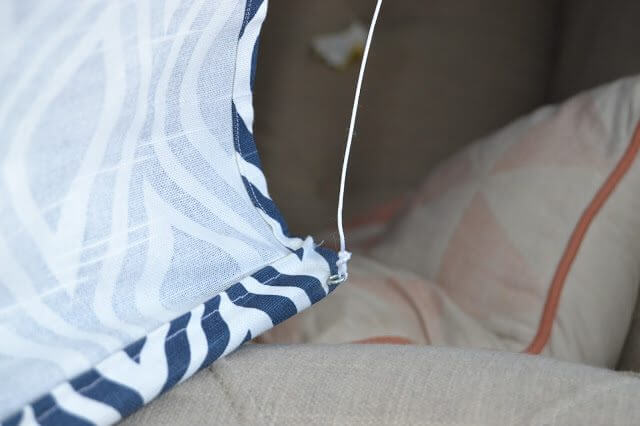
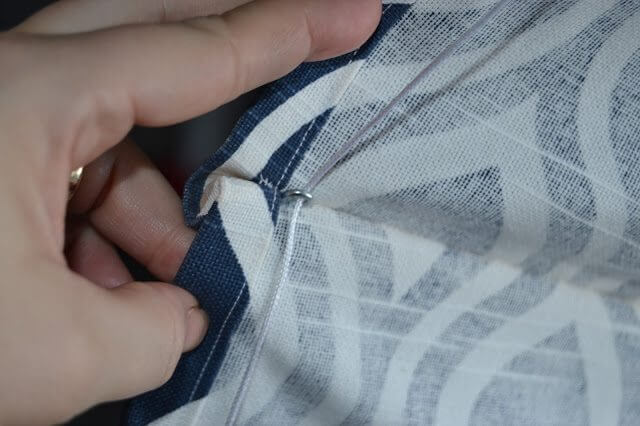
- After the wooden dowels were in their slips, we used eye hooks with screws and screwed them into each dowel on each side of the shade.
- If you’re having a hard time screwing the eye hooks in, then you can use a drill bit to start a little pilot hole in the dowel to help guide it in.
- Make sure your curtains are the right length before you wrap the extra 2 inches of fabric around the wooden square at the top of the curtain. Then drill in the eye hooks at the top too.
- Now, before you hang your shade you have to string it. I found the string in JoAnn’s near the roman shade kit area. Start by tying a knot at the bottom of your shade on each side, using two strings,
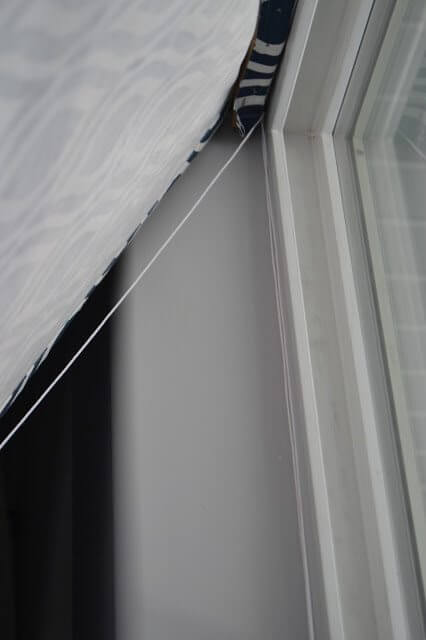
- Now pull the string up from both sides of the shade, through each eye hole. On string should cross the top of the shade and the two strings should meet on one of the sides at the top.
- Cut your string once you have it at the length you need it to be to reach it and tie off the end.
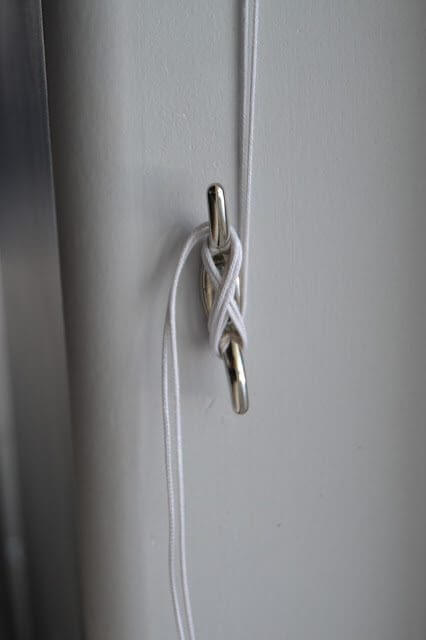
- Screw a cleat into the windowsill. Use the cleat to wrap the string around when you want your shades up!
If you have any questions, feel free to ask in the comments! I’ll do my best to answer questions quickly!
Jessica



 Your Closest CHEERLEADERS!
 We are your big sisters , cheerleaders , and confidence boosters in building a happy home. We are the Lou Lou Girls!


I have wanted to do this since I moved into my house! Thanks for sharing 🙂
So cool! I didn't realize I could make my own! Although you make this look SUPER easy…thanks for the tutorial!
I absolutely love this idea and all of your DIY projects . You are so very talented Ms. Jessica�� I wish I had half the talent you have. Thank you so much for sharing ! Cindy Williams
Bravo they look great. I've made my own and know how much work it is! Great directions. Thanks for sharing at the Thursday Favorite Things blog hop. Your post has been pinned.
Cheers,
Jennifer
http://awellstyledlife.com
These look great I love the material you have used. I think with your lovely clear instructions I could probably manage to make one (we still have plain roller blinds from when we first moved in out house).
These are awesome , thanks for sharing on #overthemoon
These are so pretty! Thanks for sharing the tutorial! I couldn't sew a paper bag closed, but maybe I can talk a friend into helping me out – this is exactly what I want for my kitchen. 🙂
Found you at Kitchen Fun with My Three Sons, and looking forward to reading more!
Wow these are really pretty! I love how they turned out! I need some new shades I may just have to try this, you make it look pretty easy. Thanks for sharing your tutorial. Pinning!
I love these!! Thanks for sharing at Submarine Sunday!!
Thank you for sharing this valuable and informative info about How To Make Roman Shades at the Healthy Happy Green Natural Party! I'm Pinning and sharing this!
These are gorgeous. Featuring when my link party opens up tomorrow night.
What a pretty fabric. When it is down it looks like stained glass. Thanks for sharing at Home Sweet Home!
Love this tutorial. I'd love to make some for my kitchen. I might have to adapt this those my windows are so wide in the kitchen.Thanks for sharing at the Inspiration Spotlight party. Pinned & shared. Hope to see you again soon.
Great tutorial! I love how your shade turned out! Thanks for linking up with Merry Monday 🙂
How did you get the shade/wood piece to stay in the window?