West Elm Inspired DIY Upholstered Headboard with Nail head Trim
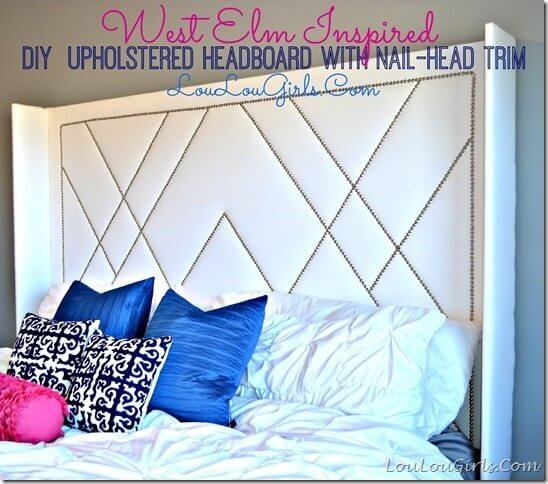
West Elm Inspired DIY Upholstered Headboard with Nail head Trim! I really wanted from West Elm, we decided to make our own West Elm inspired DIY Upholstered Headboard with Nail-Head Trim… with a twist!
When we moved into our home last year, we decided it was the perfect time to buy a King size bed. We have 4 kids, and we usually have at least one try to sneak into our bed each night.
I don’t really enjoy being kicked in the head, so upgrading from our Queen size bed to a king-size bed was a good move. Everyone can sleep comfortably until my husband realizes there’s a kid in the bed, then they are promptly kicked out.
ANYWAY…
We needed a headboard for our new massive bed, and since I couldn’t bring myself to purchase the one
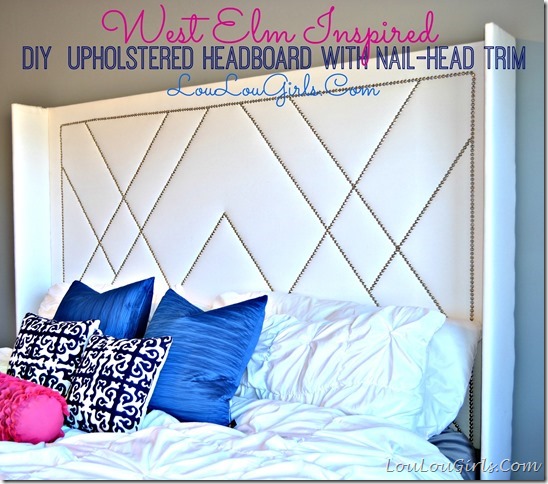
I fell in love with this headboard from West Elm.
Here’s what you’ll need
- 2 sheets of MDF board (Bought at the Home Depot)
- 1 roll of Heavy Batting
- 7 yards of heavy-duty upholstery fabric
- 18 flat brackets
- 72 screws
- Hammer
- Staple Gun
- Drill
- 3 rolls of nailhead trim (I found mine at JoAnn’s but I later saw it at Walmart)
- Start by measuring the width of your bed. Add 2 inches.
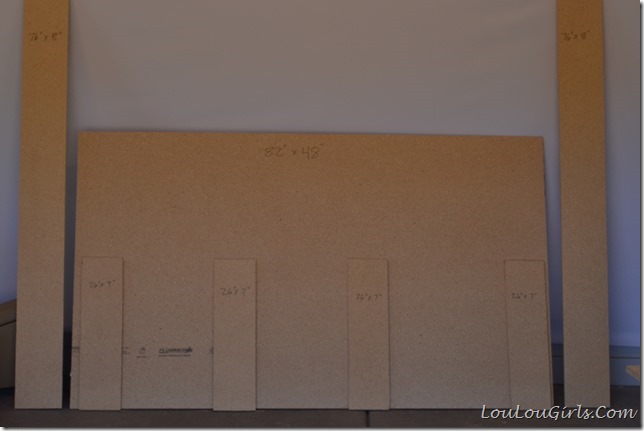
- Cut your MDF, or have a friendly helper at The Home Depot help you.
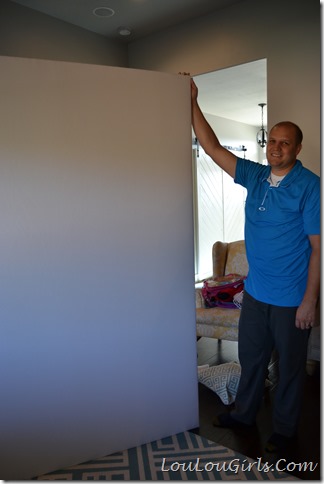
- If you have a King Size bed you can use our measurements.
-
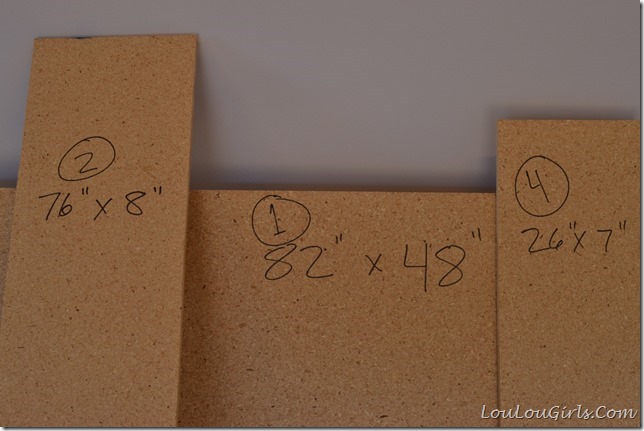
- 1-82” x 48” (Main headboard)
- 2-76” x 8” (Sideboards)
- 4- 26” x 27” (supportive boards)
4. Now lay your fabric right side down on the floor. Make sure that it is completely straight and ironed.
5. Lay your heavy duty batting on top of that. Line it up evenly.
6. Lay your main board on top of your fabric.
7. Start wrapping the board by pulling the fabric over the sides of the board. You’ll want two people for this. One to hold the fabric, pulling hard. And the other to staple it into place. Make sure the fabric is smooth!
8. If you have a brand new baby, bribe your oldest to hold her…
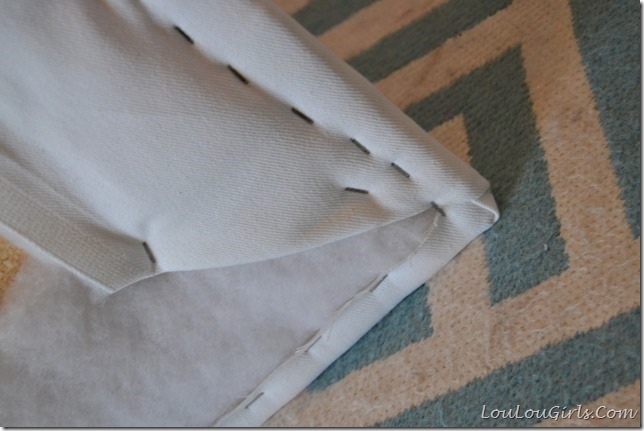
9. Wrap the fabric around the corners like a present, and staple away!
10. Flip the board over and admire your work!
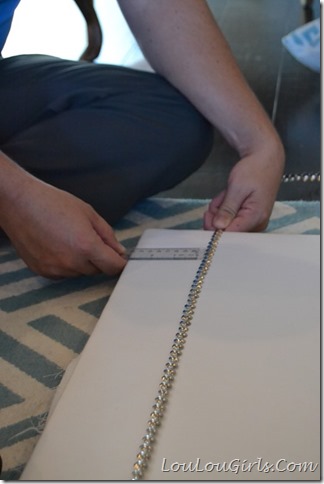
11. Now start adding your nailhead trim. Nailhead trim comes in rolls. You don’t have to nail each one in individually. It’s pretty self-explanatory, just hammer them in!
12. Make sure you use a ruler to measure the trim and make sure you’re putting it in a straight line. We started by putting the border around the entire board. 3 inches in from the edge. You could stop there, or get creative. Just make sure you measure each section before you nail it in.
13. Wrap your sideboards in fabric, with the seam in the back, and staple away.
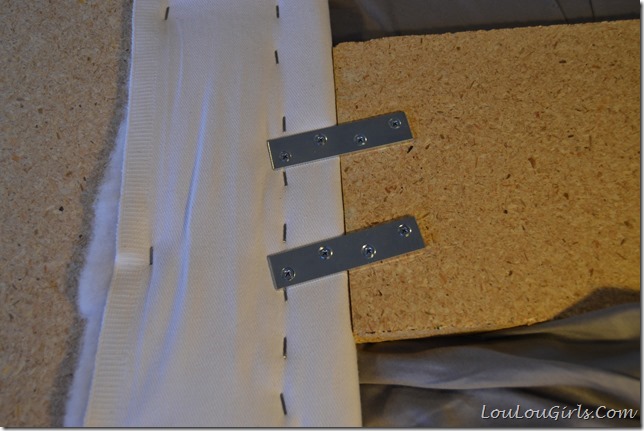
14. Now attach the sides to the mainboard. We used flat brackets.
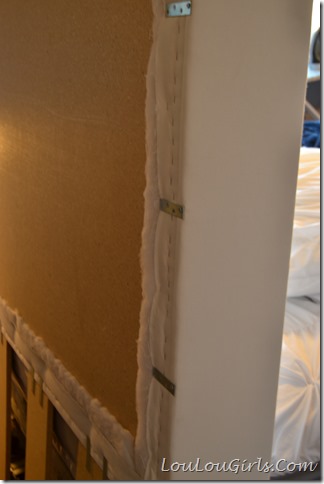

15. Just for extra support we added the extra boards to the bottom with more flat brackets.


Enjoy your new headboard!

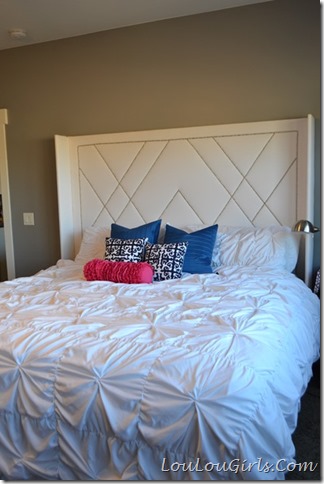
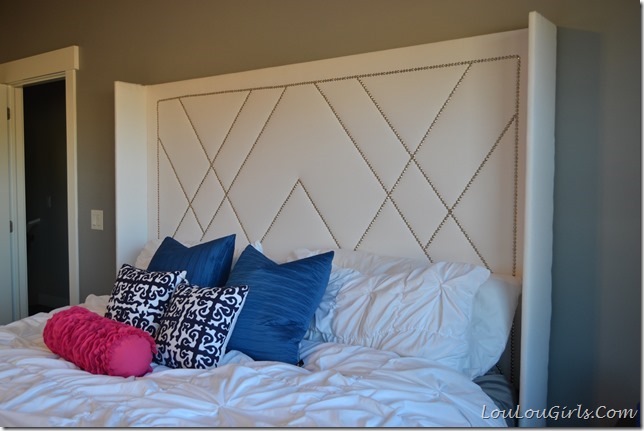
Now to decorate the rest of the room to match! Would you paint your dressers white to match or go for an accent color, like navy or hot pink? Let me know what you think?! I’m pretty sure I know how I’m going to finish is, but it could take a while. It’s hard to get much done with the new babe!
Jessica



 Your Closest CHEERLEADERS!
 We are your big sisters , cheerleaders , and confidence boosters in building a happy home. We are the Lou Lou Girls!


Jessica it looks awesome!!! love it
Thanks Mari!
I love your new headboard. Very pretty. I found those upholstery nails at Hobby Lobby after I had bought them from Walmart. They are a little over 11.00 with the 40% off coupon.
I used coupons too! The only way to go!
Love your headboard!! Looks chic!
Thanks for sharing with us at Two Uses Tuesday!
Happy Thanksgiving!
I love the look of this head board Kim! I will definitely need to get my DIY on! Thank you for linking up at the Tips and Tricks Link Party! I am sorry I didn't get a chance to get over to your party with the holiday it have been super busy!
What a fabulous, frugal project! Your headboard looks amazing! Thank you for sharing this cool DIY project with us at the Hearth and Soul Hop.
Jessica, This is FANTASTIC! First of all I'm impressed that you made this to begin with, but that you did it with a newborn!??? Wow, supermom! Well done.
the headboard looks fantastic indeed…I can't believe you made it yourself 🙂