No Sew Big Bow Headbands
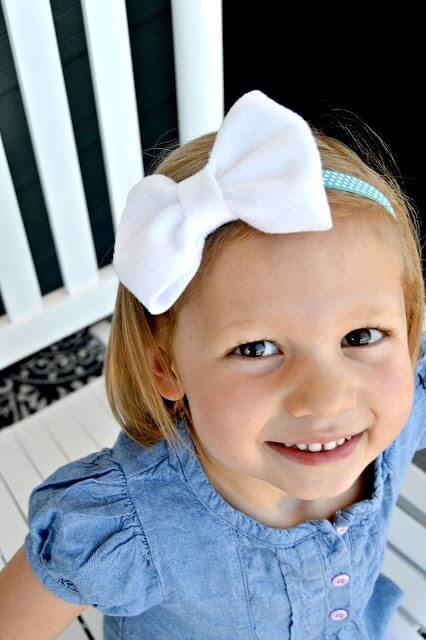
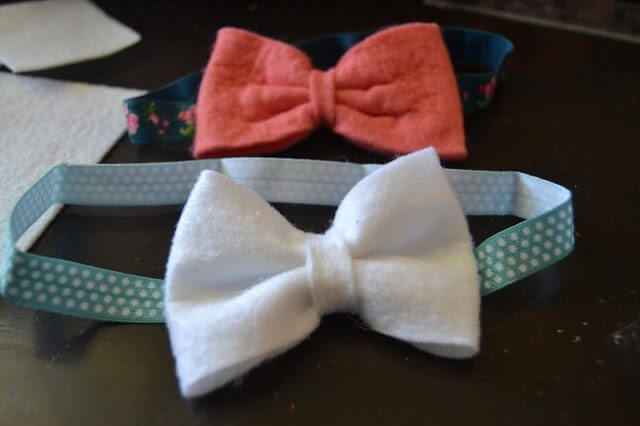
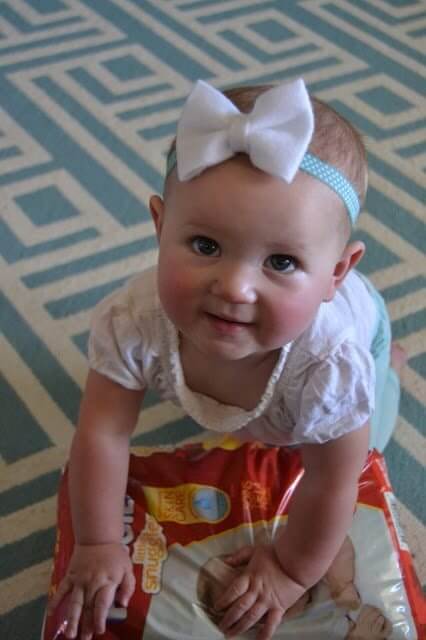
No Sew Big Bow Headbands! Keep your daughters dressed up with headbands everywhere they go now that you know how easy it is to make these DIY, no-sew, big bow headbands! They take less than 5 minutes each and about $1 to make! You’ll never buy headbands again!
I have 3 girls and I have always loved dressing them up with cute bows and headbands! I have SO many headbands that my husband thinks I’m crazy, but the thing is, half the time they’re lost because guess what…my daughters LOVE to dress their stuffed animals with headbands too.
It’s seriously depressing. I try hiding them, but the little stinkers always find them…and lose them! WAH!!!
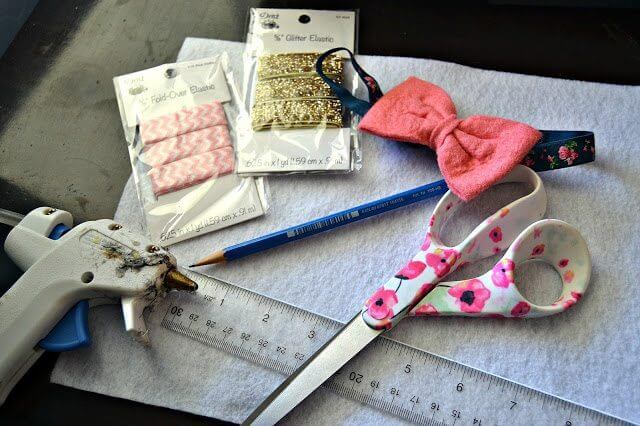
Good thing I know how to make headbands, and they’re super cheap to make! I think I made 3 headbands for less than $3 and that’s WITHOUT a coupon! Don’t buy them anymore!! Here’s what you’ll need for this DIY.
DIY No-Sew Headbands
- Elastic bands. I found mine at JoAnns, and of course, I used a coupon!
- Scissors
- Pencil
- Glue gun and glue sticks
- Felt
- Ruler
No Sew Big Bow Headbands
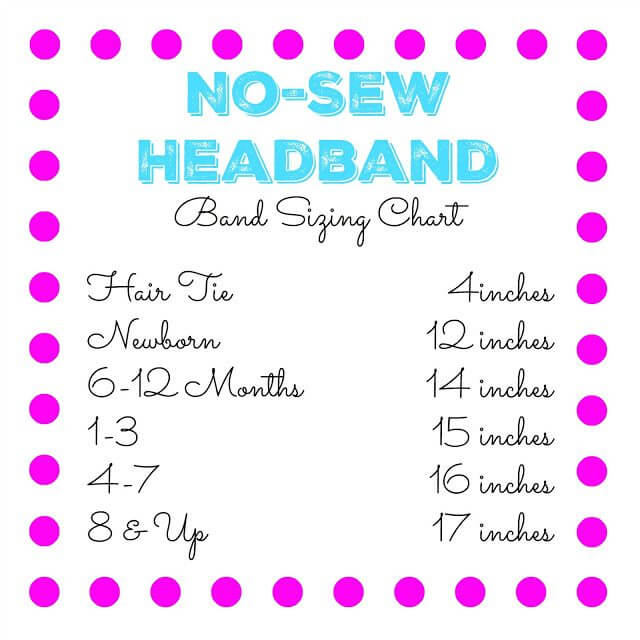
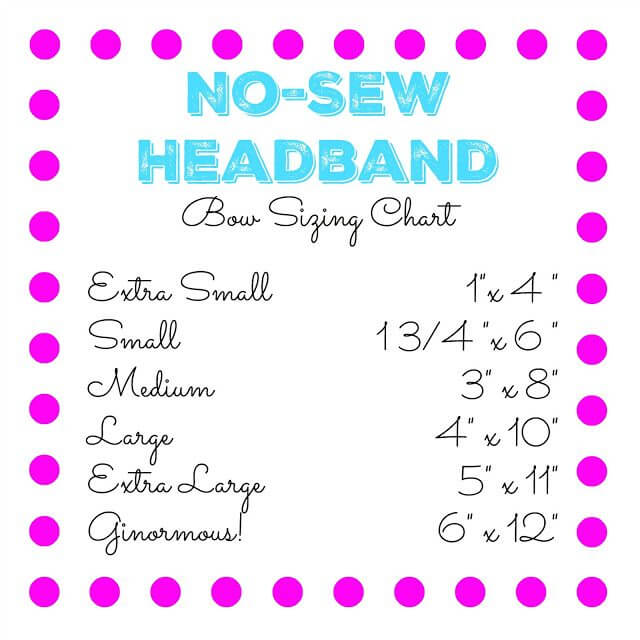
You can start by simply measuring your little girl’s head, or you can use our chart.
Of course, everyone has different sized heads, so this is just a general guide. I made bows on small hair ties because my oldest daughter has a tendency to lose bows at school too, so this way; hopefully, it will be a little harder for them to fall out!
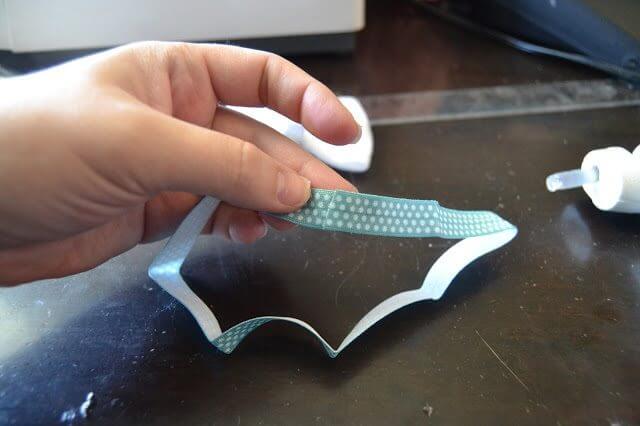
Measure your elastic, cut it and glue it together with a dab of hot glue. Set it aside…
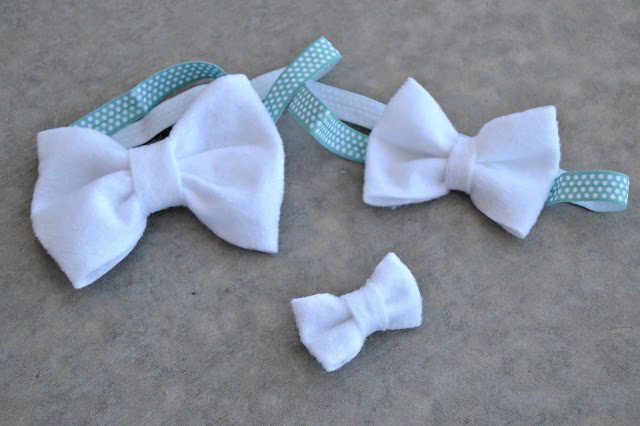
Now go ahead and decide what size of bow you’d like to make. I made 3 different sizes, one extra small (for the ponytail holder), a medium, and a large.
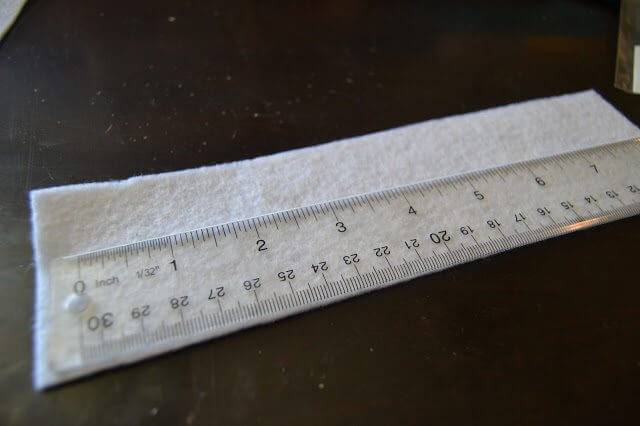
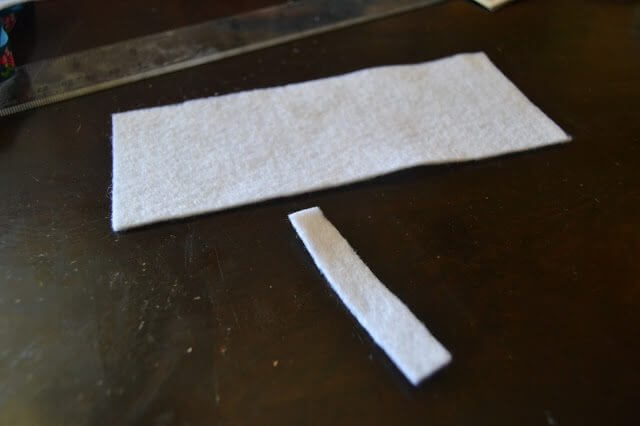
Use a ruler to measure the size of the bow that you’d like to make. Then use a pencil to LIGHTLY mark where you need to cut it. After you cut the height and width, cut a small 1/2″ x 2 ” strip to wrap around the middle.
Of course, you can decide if this size works for you, just play around with it!
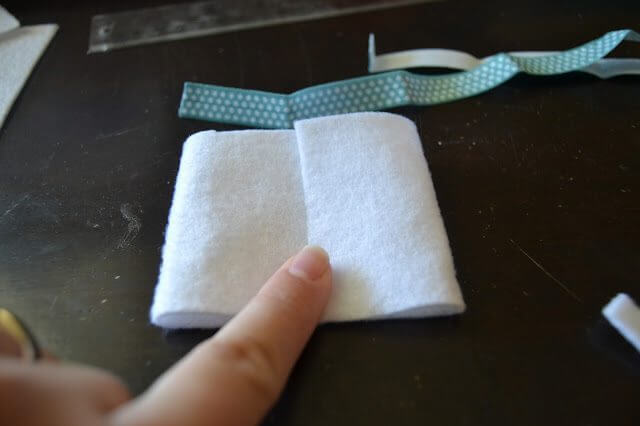
Now find the center of your large piece of felt, mark it, and fold the ends into the center mark. Use a few dabs of hot glue to hold them there.
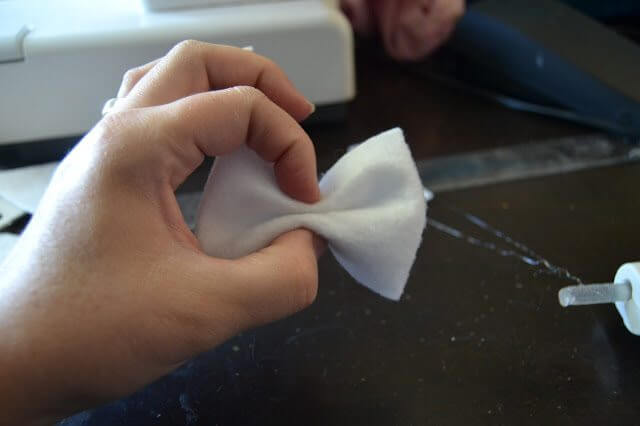
Now pinch the center of the bow down, and use a few more dabs of glue in the folds, on the back, to hold it. Don’t worry if it’s not super solid, you’re going to use the smaller strip of felt to pull it in tighter.
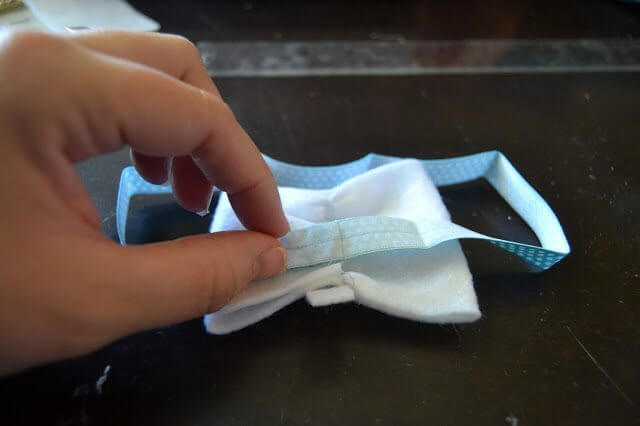
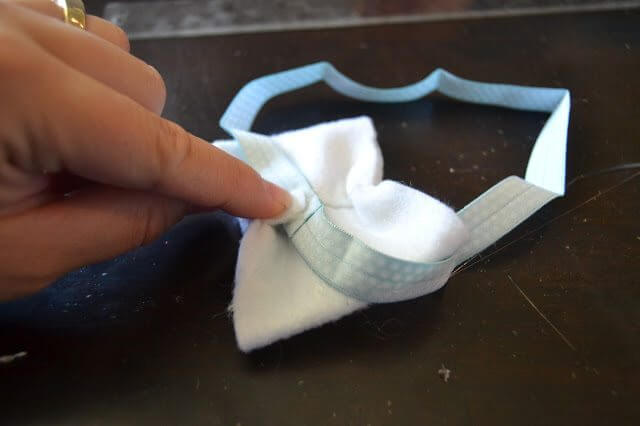
Find the back of your headband, and use a dab of hot glue to secure the headband, right side down to the back of the bow. When that cools, use your smaller strip of felt to wrap around the center of the bow and over the elastic headband. Secure with hot glue.
Voila! You’re done! Now go crazy, as I did, and make them in EVERY color and size!
You can NEVER have too many bows! AM I RIGHT?!
Pin it for later!


 Your Closest CHEERLEADERS!
 We are your big sisters , cheerleaders , and confidence boosters in building a happy home. We are the Lou Lou Girls!


How adorable! Thank you for the measurements! They are very helpful:) Pinned it for later;)
Thanks Nina!
So adorable and I love your mdoels. Thanks for sharing with us at OVer the Moon link up.
Good Morning! I wanted to let you know that your post has been chosen as a Featured Post for the Welcome Home Wednesdays Link Party!! Stop by this morning to see your post linked up and grab a Featured button as well!! ~Lisa~
Thanks for sharing these super cute DIY No-Sew Headbands with us on the Plant-Based Potluck Party Blog Hop. I'm pinning and sharing.
Cute!Need to make some for my granddaughter! Thanks for sharing at Funtastic Friday!
I love your no sew hair bows! The bows turned out adorable and I can't believe there's no sewing involved. Thank you for sharing at the Talented Tuesday Link Party. Have a lovely week!