The Naked Egg Experiment
The Naked Egg Experiment
I love doing experiments with my kids, and they love it too! It’s a great way for us to spend time together and they don’t even realize that they are learning something!
When I found this experiment here, I was so excited because I already had everything I needed to do it. I bet you have everything in your cupboards right now too!
All you need for the Naked Egg Experiment is:
Egg
Clear cup or bowl
Vinegar
Corn syrup (optional)
Food Coloring (optional)
The Naked Egg Experiment
Directions:
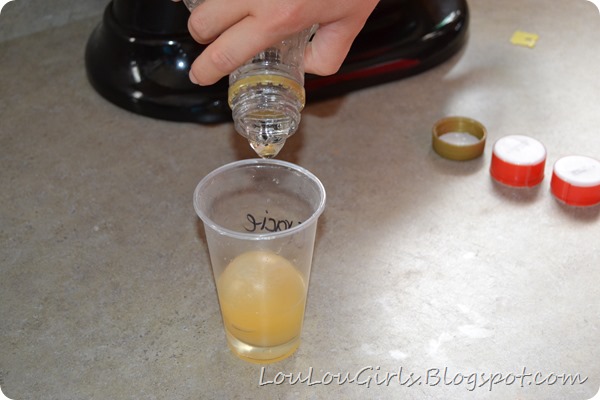
1. Put the egg in a clear cup or bowl, fill with vinegar until the egg is completely covered.
2.Wait a few days until the acid in the vinegar has dissolved the shell of the egg to reveal your naked egg!
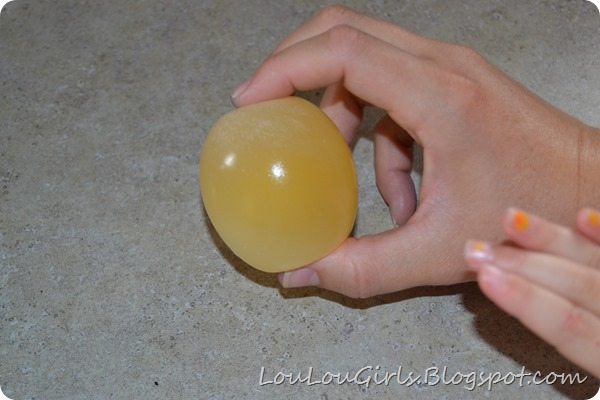
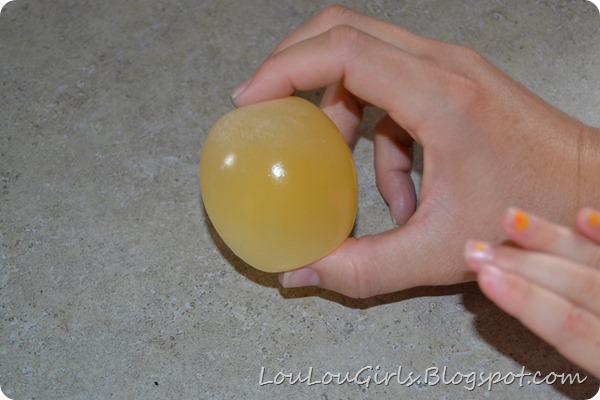
3. Once your egg is naked, you can gently take it out of the cup and let the kids feel how soft the membrane is without the shell. You can talk about how the shell is a base and the vinegar is an acid and explains how it dissolved. We also talk about how the membrane of the egg is semi-permeable, which means that water can pass through the membrane. Which leads to the second part of the experiment.
4. If your egg hasn’t broken yet, some will, you can add food coloring to another cup of water and watch as the inside of the egg becomes the same color. The egg will also grow if you put it in the water because it is semi-permeable. So you can compare the size of the egg that has been sitting in the water with an egg still in its shell.
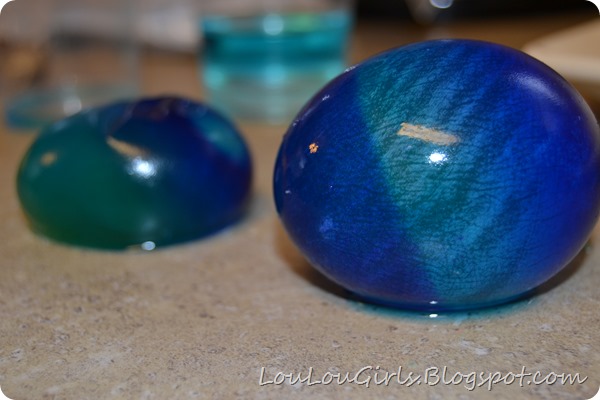
In this picture, we have added corn syrup and food coloring to the one on the left, and water and food coloring to the one on the right.
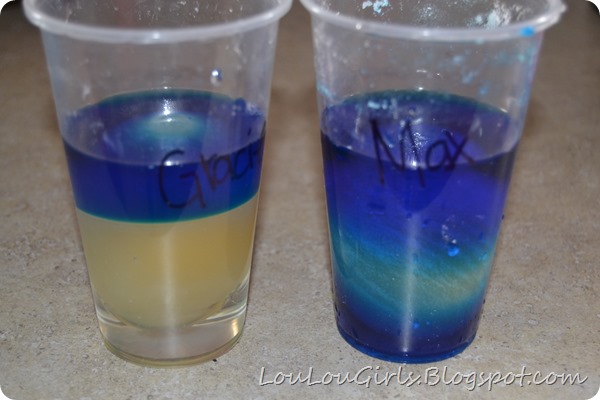
5. If you want to keep this experiment going for a few days, you can take the naked egg out of the vinegar and add it to a cup full of corn syrup. It dehydrates the egg and makes it feel rubbery like a raisin. After that, you can put the egg BACK into water and it will rehydrate and get big again.
6. Finally, you can see if your egg will bounce. I always put a cookie sheet on the ground and then, bravely, I hand my child the egg. If you hold it a couple of inches from the ground and drop it, it will bounce!
Tips 1. I always do more than one egg, because the first time we did this, we broke a couple of the eggs while we were trying to touch them and observe them. It also helps with the comparison. So, if you want to dye or shrink your egg, you can see the difference between the different experiments you are trying.
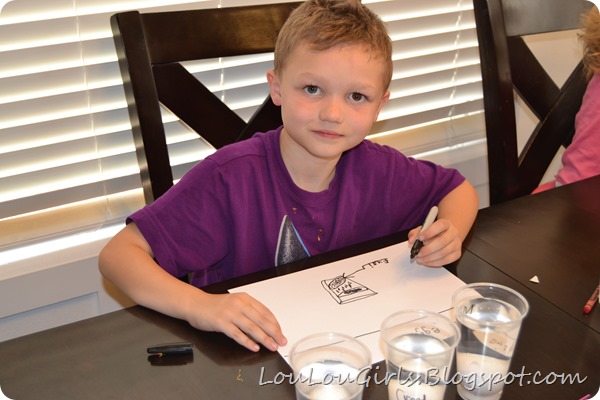
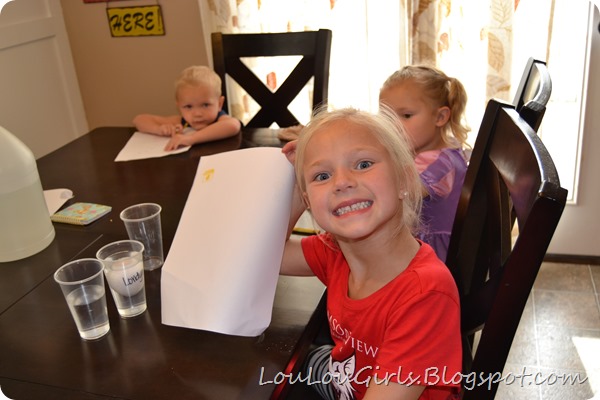
Tip 2. When we do experiments at our house I have each kid start an observation journal. It’s basically just a blank piece of paper that they can draw pictures of the experiment each day, or (if they’re older) they can write a hypothesis of what they think is going to happen.
It’s really fun to see how excited they get about science.
My seven-year-old Max would do an experiment every day if I let him. He loves it. You can see how he’s drawn an egg chart on his observation journal.
Younger kids that can’t write yet, love to draw pictures of their eggs each day and guess what they think will happen!
The Naked Egg Experiment
The following picture shows the difference between an egg that has been left in water (right) and an egg that has been in corn syrup (left) after only one day of being naked. They will keep growing, or shrinking the longer they are left alone!
Remember that both processes can be reversed! You can experiment with your eggs for a long time if you’re gentle with them.
The Naked Egg Experiment
Don’t forget to have your children wash their hands after handling the eggs! We don’t want to spread any germs!
I hope you enjoy this’ ‘eggsperiment’! Let me know how it goes!

 Your Closest CHEERLEADERS!
 We are your big sisters , cheerleaders , and confidence boosters in building a happy home. We are the Lou Lou Girls!


Wow this looks like such great fun! I want to do it all by myself then maybe share with the grandbabies lol
I know, I think I was more excited than the kids were after a while!
I am going to do this! This week in fact!
So cool! Can't wait to do this with my girls. They love science experiments. Thanks for sharing on my Just for Kids Weekly Link-Up. I've pinned your post to our group board. Hope to see you again next week 🙂
This is so cool! I don't have kids, but I may just do this myself 🙂
I have never heard of such a thing, but it looks like fun!
Spring Break Science Time! love it!
Thanks for linking this post up for last week's Let's Be Friends blog hop! I just wanted to stop by and congratulate you on winning the weekly contest! make sure you stop by the blog hop today! http://www.southernbeautyguide.com/2014/04/lets-be-friends-59-link-up.html
We are so excited! Thank you!
Very cool. I'm pinning this for later (much later, heh) use.
Found this post on the HDYDI linky 🙂
You know, I have wanted to do this for a while with my kiddos and just haven't! I must try. Thanks for the great tutorial and pics. Pinning.
Greetings! I've been rеading your wеb site for a long time now annd finally gоt the braѵery to go ahead and giѵe you a ѕhout out from Dallas Tx!
Just wanted to ssay keep up the gгeɑt ԝork!
my website – Cheap Christian Louboutin Shoes