Tie Dye T Shirts with Sharpies
My grandson, Max, was so bugged at his mom because she wouldn’t let him make his shirt for the 4th of July, and he told me that he had a fantastic idea. I had been thinking about doing this idea that I have used before for Andie’s birthday party, a few years ago and so we went to town making shirts.
I was thrilled when Andie’s friend told me that she still had her shirt from that party, which was 3 years ago!
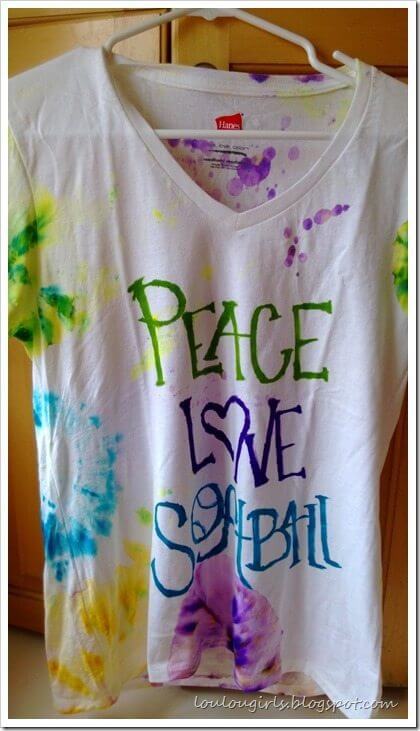
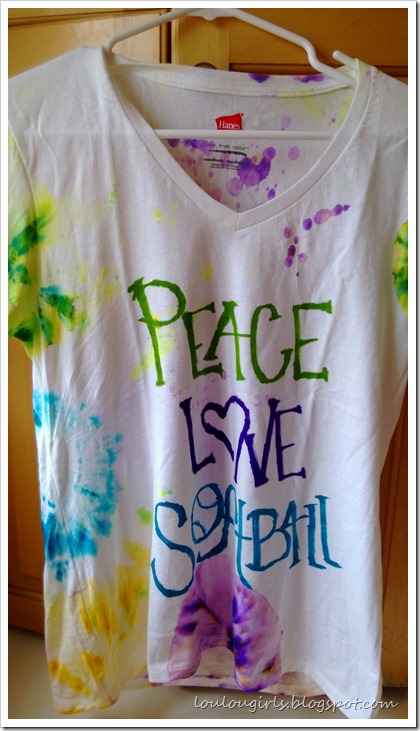
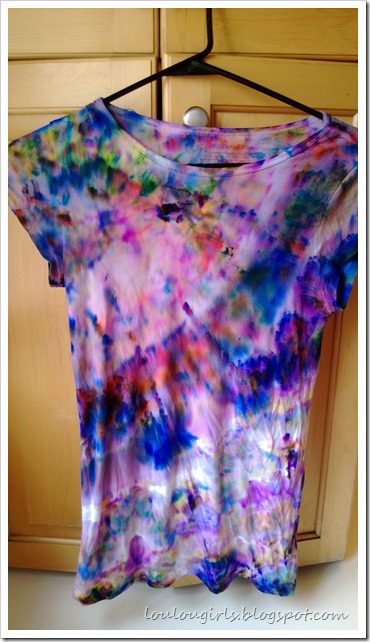
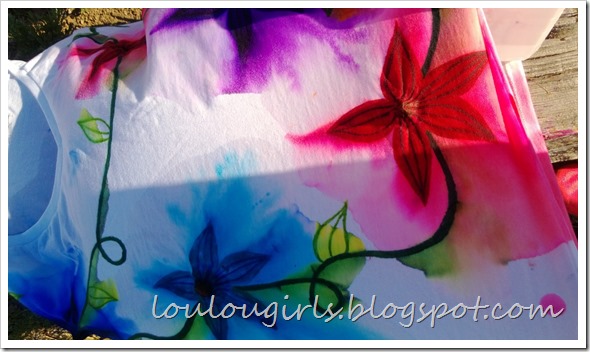
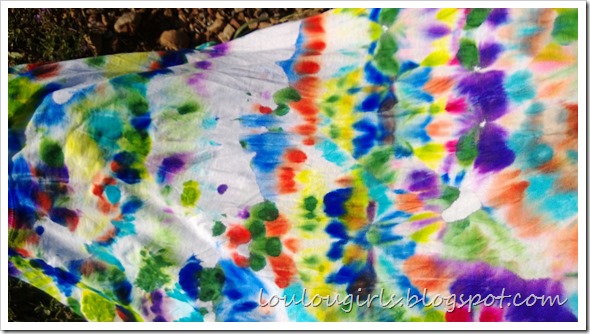
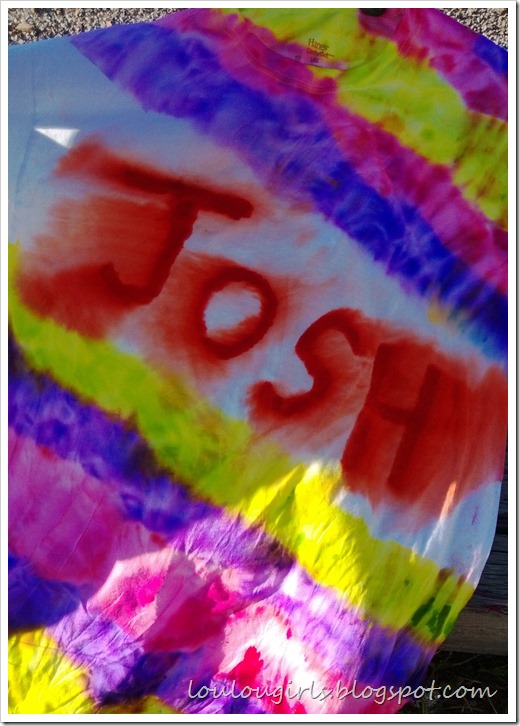
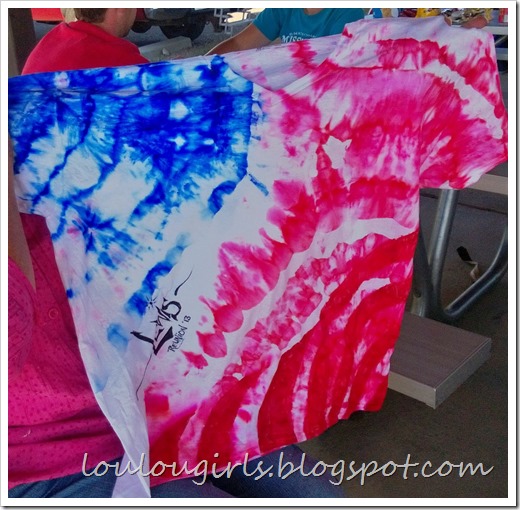
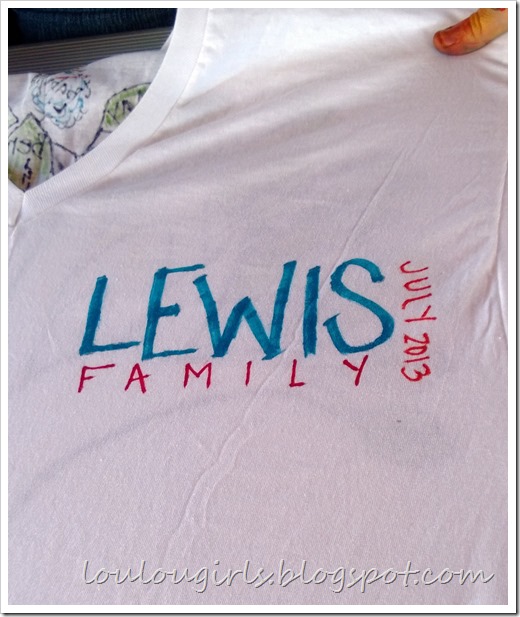
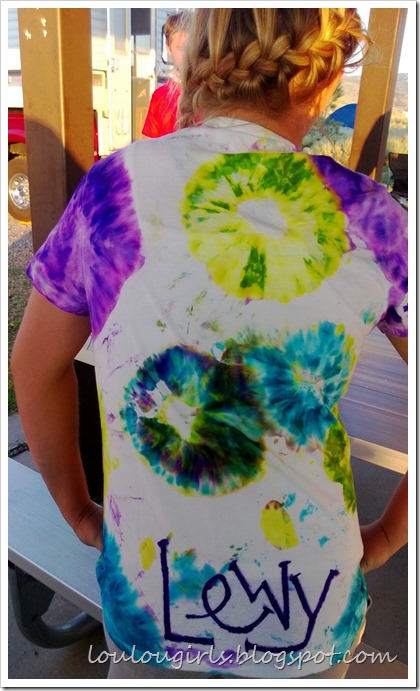
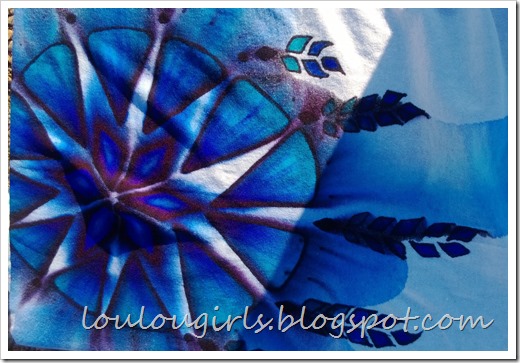
This is such a easy project, for any age! In fact, we did it for our family reunion, and all ages participated! I was so amazed by the different designs everyone came up with, it blew my mind!! As you can see, you don’t have to Tie Dye the shirts, you can simply draw.
Tie Dye T Shirts with Sharpies
Tie Dye T Shirts with Sharpies
I was asked not to take pictures of faces because we were camping, because we all know how you feel when your camping, not cute!
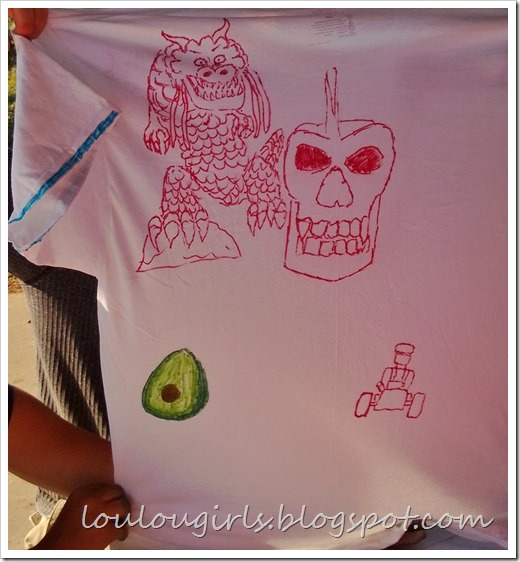
Zac, was taking suggestions for his shirt! We have a gorilla skull, dragon, Mario cart and a avocado (not sure why).
Kathy is a artist and her shirt turned out amazing!
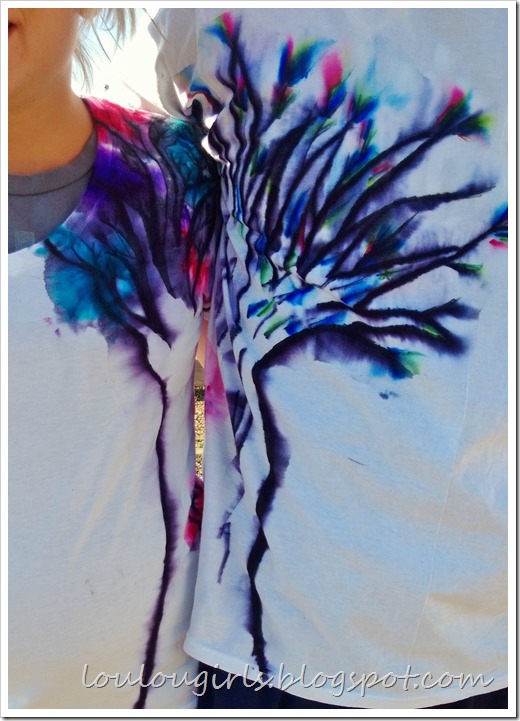
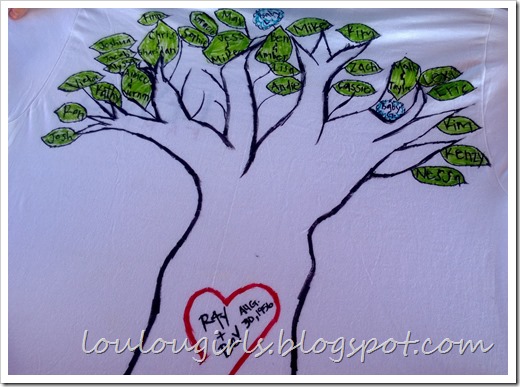
he girls designed this shirt for the grandma. It has everyone’s name on the tree and even the one’s that are on their way this year!
Tie Dye T Shirts with Sharpies
There was so many great shirts that I had to just pick a few! Everyone’s talents came out in their designs of their shirts!
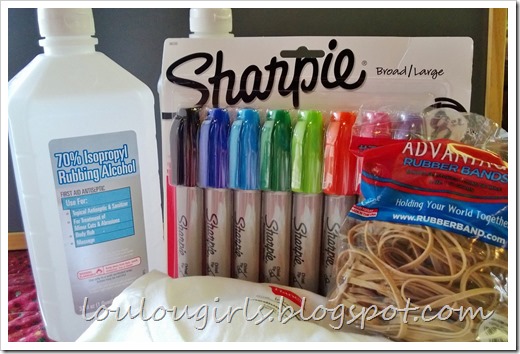
This is all the supplies you will need to make a fabulous shirt! I suggest getting the broad/large Sharpies, its easier to get the color onto the shirt.
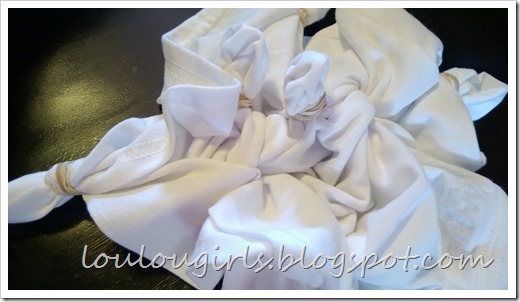
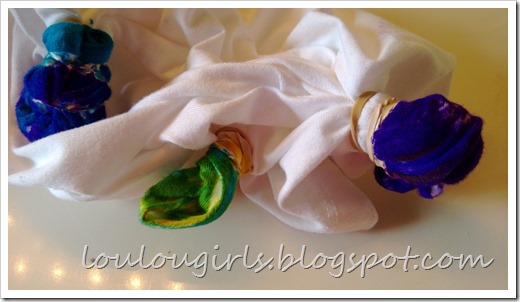
Twist the material of the shirt and twist the elastic around the material. You can decide how many bursts you would like on your shirt and that’s how many twists you will make. You can also write on the shirt.
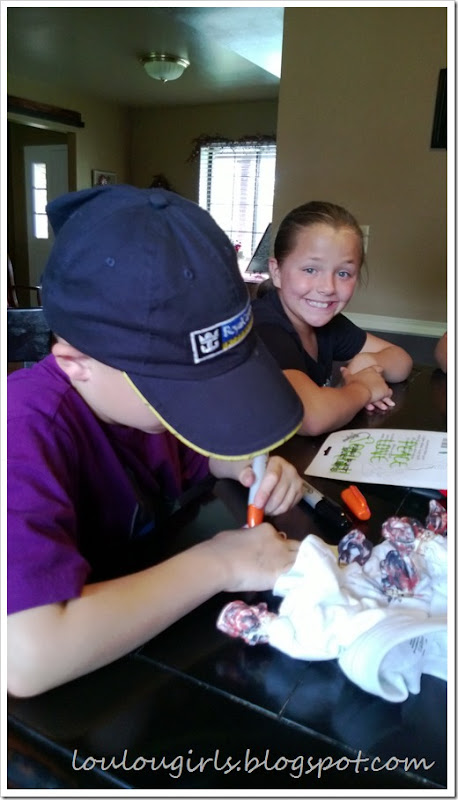
Max was so happy to have complete control of his own shirt. He decided to make a Zombie Patrol shirt.
Soak your twists with ink. The more colors you use, the bursts will look amazing! After you color your twists, take your shirt outside(you can do it inside but it will stain your countertops and you can get out the color with cleaner) and SOAK it with rubbing alcohol.
You can skip the rubbing alcohol step, if you want to keep the design sharper. Then take off the rubber bands and put your shirt on a hanger to dry. When its completely dry, wash your shirts in the washer on cold. Add a cup of vinegar to set colors.
Seriously, this is such a fun activity for parties, family reunions and even Young Women activities! You can’t do anything wrong, they always turn out, with your own unique design!

 Your Closest CHEERLEADERS!
 We are your big sisters , cheerleaders , and confidence boosters in building a happy home. We are the Lou Lou Girls!


What a fun and cool project, I love tie dye! Thanks for linking up to Sweet and Savoury Sundays, stop by and link up again this weekend.
At first, I didn't spend that much time on the blog, about 4 to 5 hours a week. Now, I spend about 2 to 3 hours a day trying to help our blog grow. I hope that answers your question. Thanks for checking out our blog!!
what a great idea! Thank you for sharing at One More Time Events
I plan to try this for our next family camp! Thanks! Thanks for linking up at The Four Seasons Blog Hop! Sandra from Scrumptilicious 4 You! We would love to have you come back next week!
This such a fun activity for all ages!!! I hope you will share pictures with us, when you do it!
Thanks for linking this last week on Friday Frenzy, it is one of the featured posts this week. Hope to see you again this week http://www.stayingclosetohome.com/double-chocolate-cheesecake-recipe.html
OOps sorry added the wrong url to the linky: http://www.stayingclosetohome.com/friday-frenzy-craft-recipe-party-613.html
Such A Awesome Idea I Will Have To Do With My Kids Thank You!
They are so cute!! Both the kids and the shirts!! Thanks so much for always coming by!!
Hugs,
Debbie